Task Tracker Module
Last updated April 3, 2026
The Tasks Tracker helps you stay on top of everything from daily compliance follow-ups to audit prep. It’s your all-in-one workspace to organize, track, and collaborate on tasks with your team, so nothing slips through the cracks. An email notification is sent to an individual when a task is assigned.
Step-by-Step Guide
Step 1: Log in to your Readily account https://app.readily.co/task-tracker
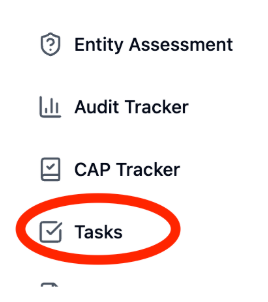
Step 2: Click the Tasks Tracker, located on the left side of the page.
On the tasks tracker, there are three sections: My Tasks, All Tasks, and Projects.
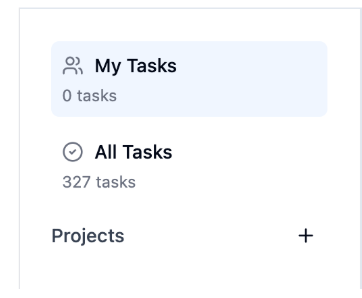
Overview of each Task View
- My Tasks: Tasks that are specifically assigned to you.
- All Tasks: You can view All Tasks listed.
- Projects: Folder of projects with Tasks.
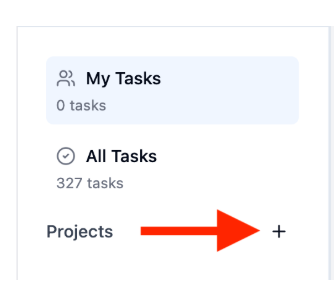
Step 3: Create A Project
- Click on the + sign to create a project.
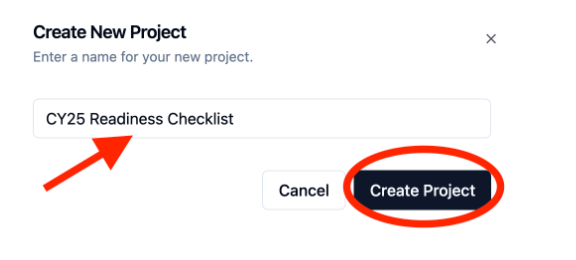
- Add a Project Name. Then click Create Project.
Step 4: Create A Task
- Click the Project Name.
- Top right corner, click Create Task.
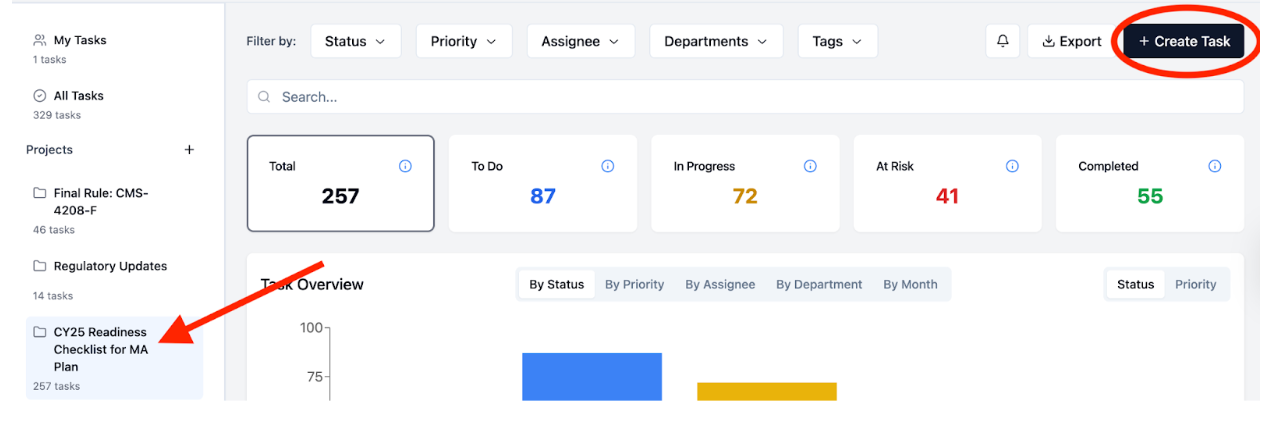
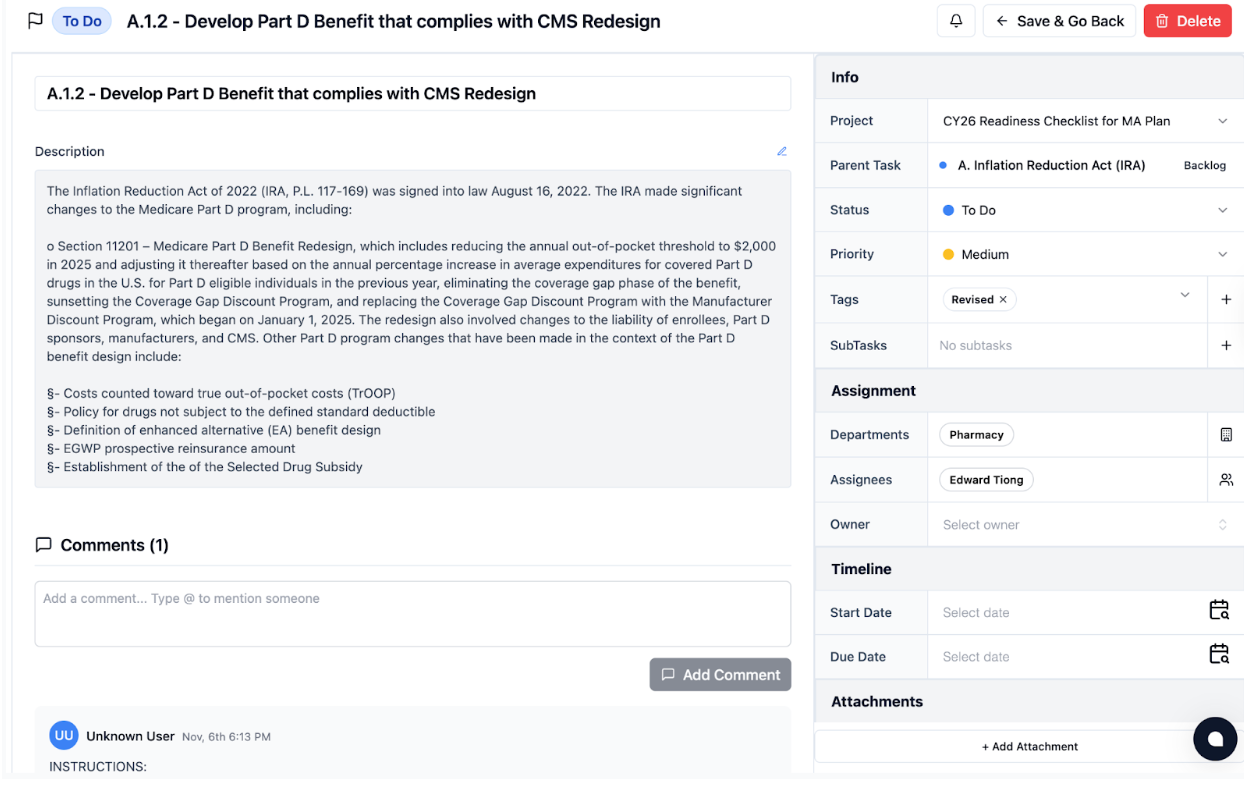
- The Task page will populate.
- Enter Task Name
- Add a Description
- Generate a comment and tag a member of your team.
- Fill out the Info section
- Status: To Do
- Set a priority by clicking the drop-down
- Select a Department - (You can select 1 department or multiple departments)
- Assign an Assignee: search the name of the assignee. (You can select 1 assignee or multiple assignees)
- Set an Owner and Timeline
- Once you’ve filled out the Info section, click Save & Go Back
- After saving the task, the assignee(s) will receive an email notification
Best Practices
- Keep Tasks Action-Oriented
- Use clear, concise titles that describe an action, e.g., “Review Q4 CAP responses”.
- Assign Ownership and Deadlines
- Assign ownership for accountability and progress. Set due dates to set clear deadlines and expectations.
- Update the Status of the Task
- Updating the Status keeps ongoing progress and visibility.
- Utilize the Comment Section
- Use the comment section to collaborate, ask for more information, next steps, or instructions.
Was this article helpful?