
How to connect your bank via Stripe
Last updated March 24, 2025
This guide will help you set up your Stripe account so you can start accepting payments quickly and easily, Step 1: Click on the red widget which says 'Connect bank', which will take you to the 'payment settings' and then click 'Connect Stripe' Stripe onboarding
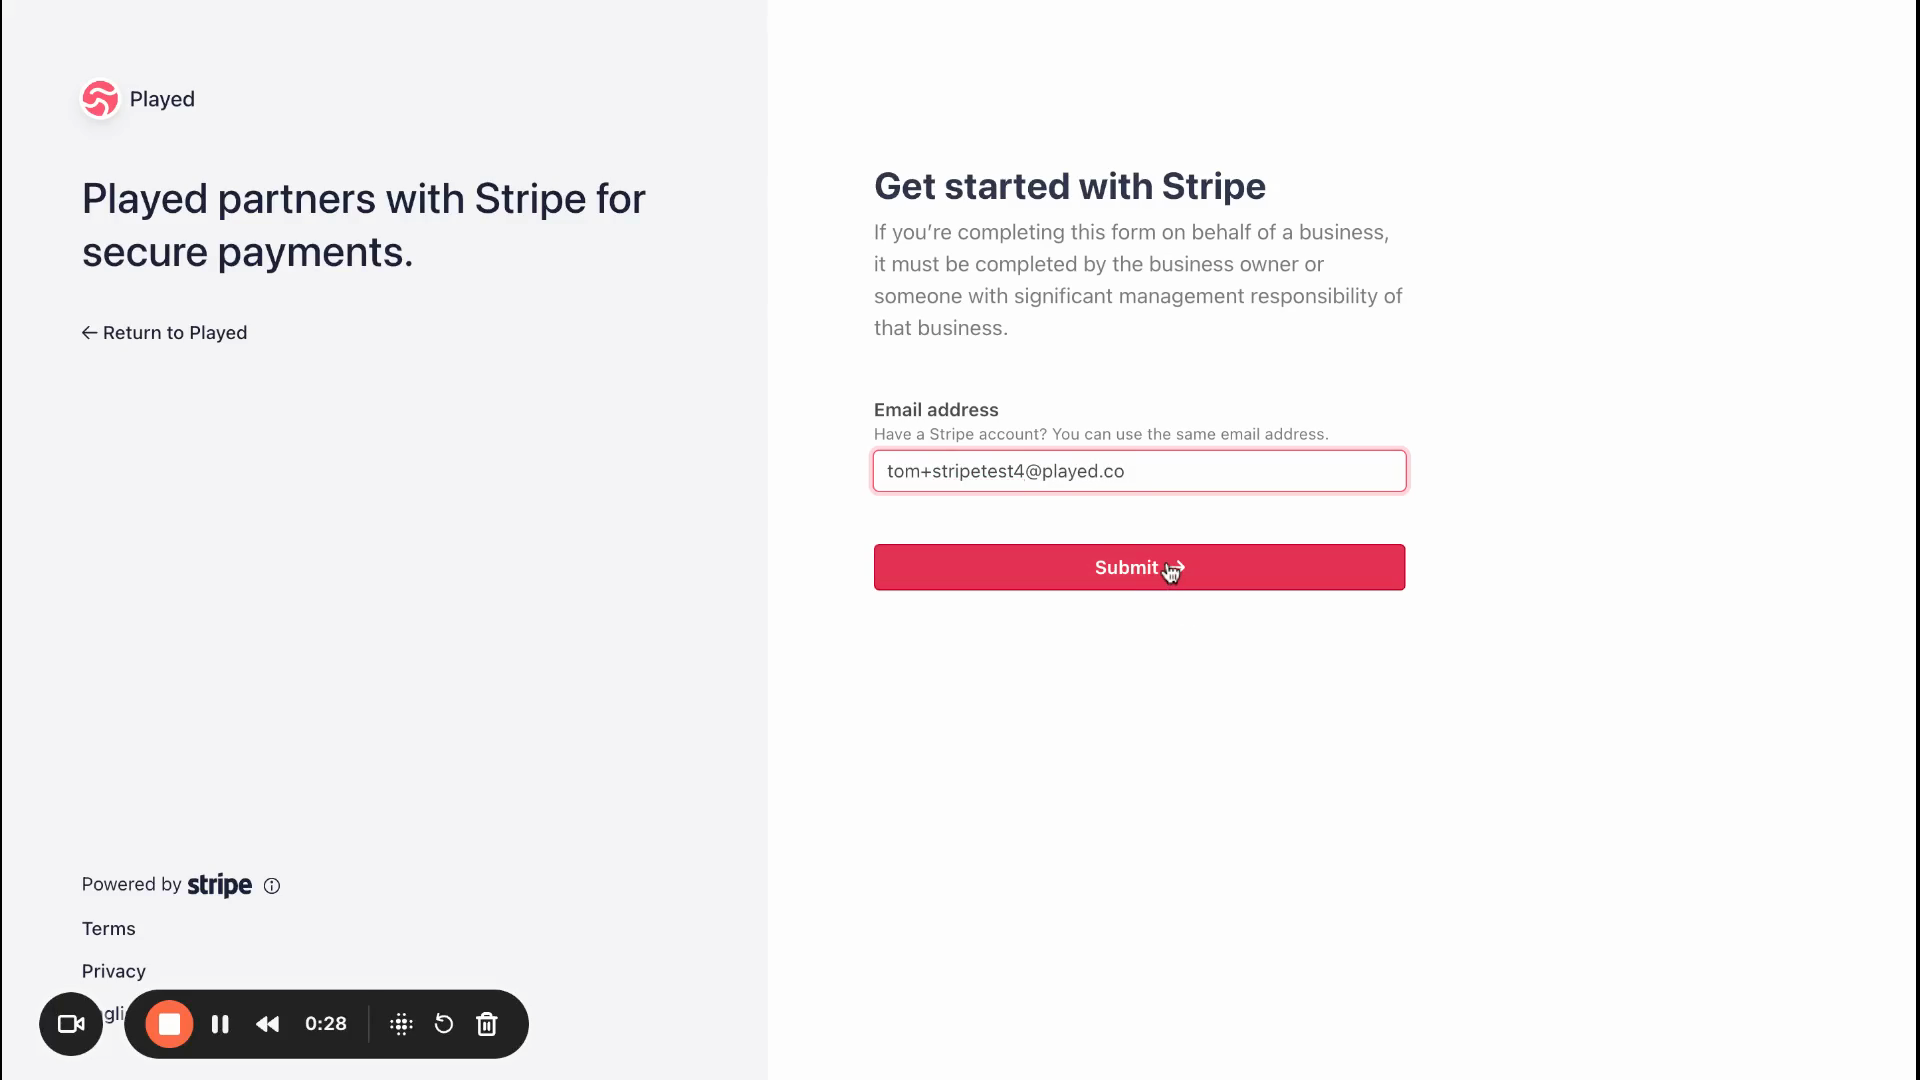
Step 1: Enter your email address. If you already have a Stripe account, use the email linked to it. If not, just enter your email and confirm your details.
This guide is for people who do not have an existing Stripe account.
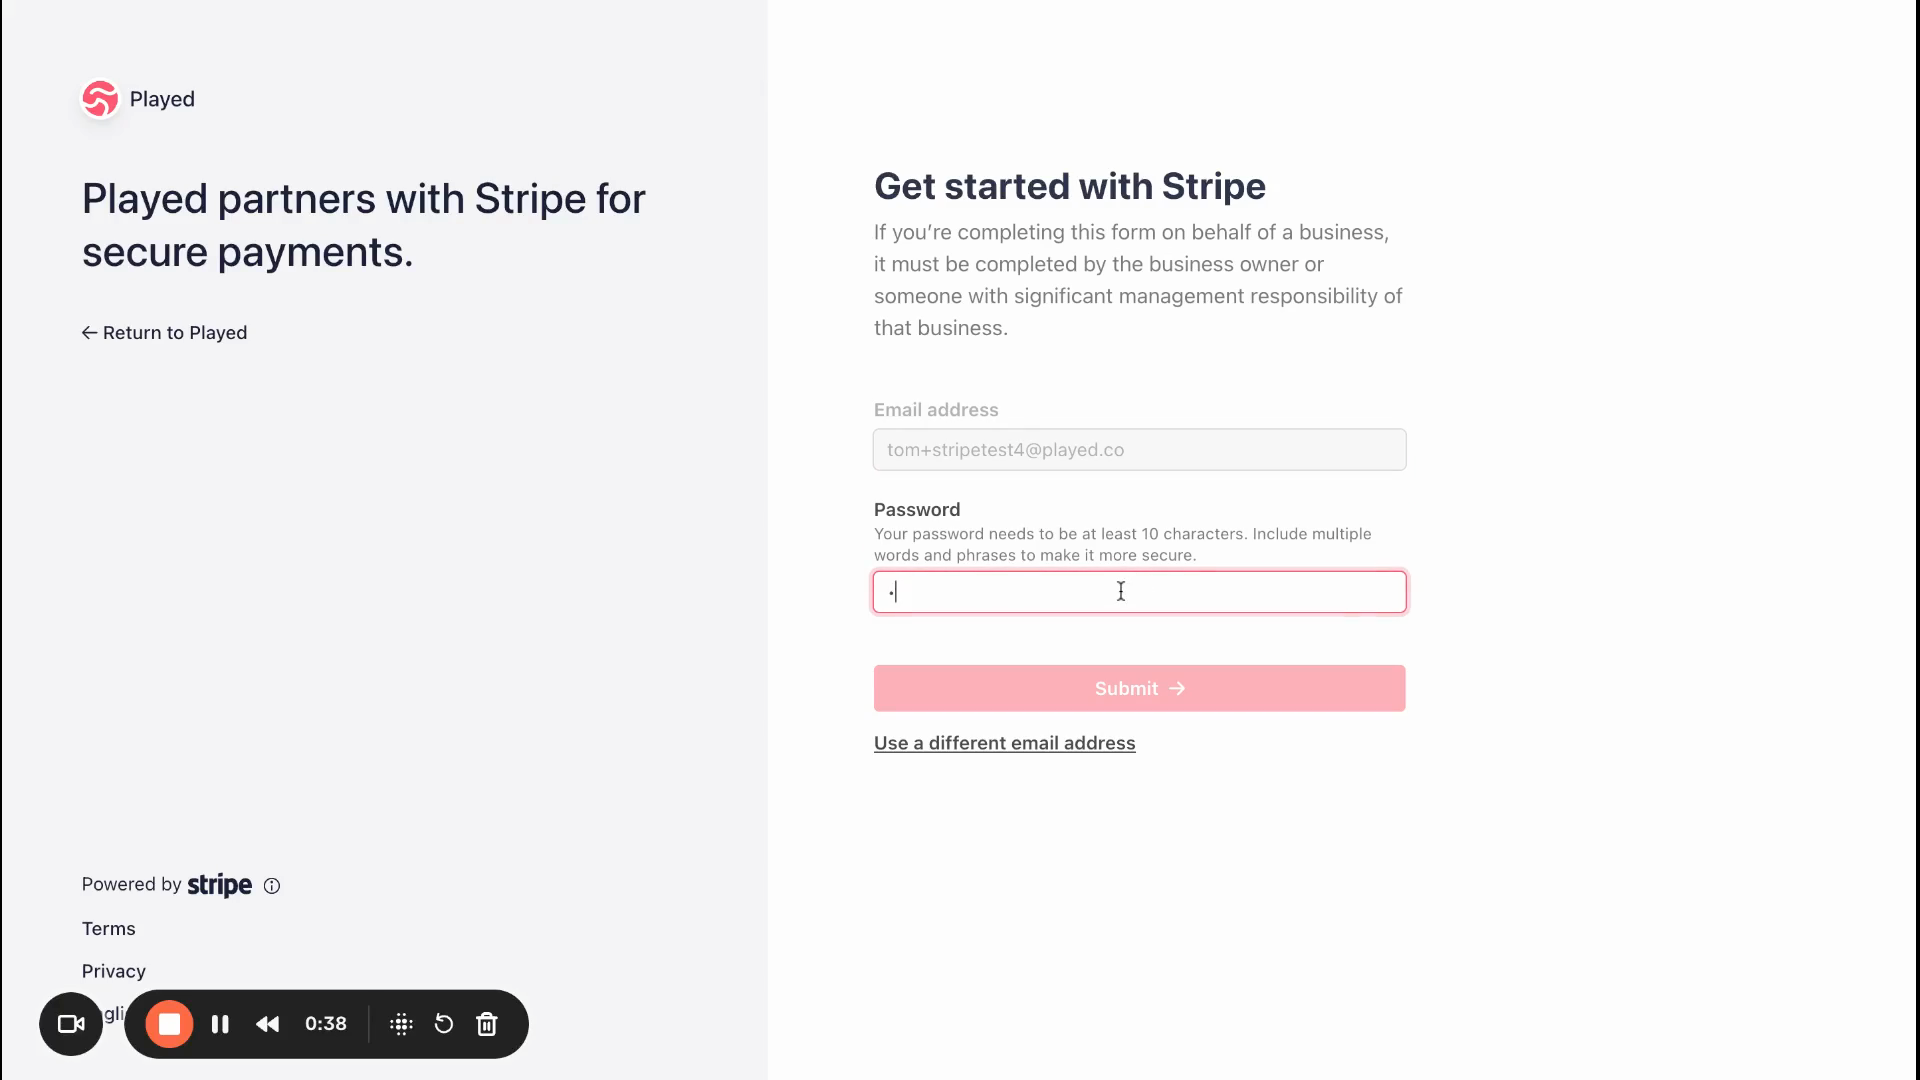
Step 2: Create a password.
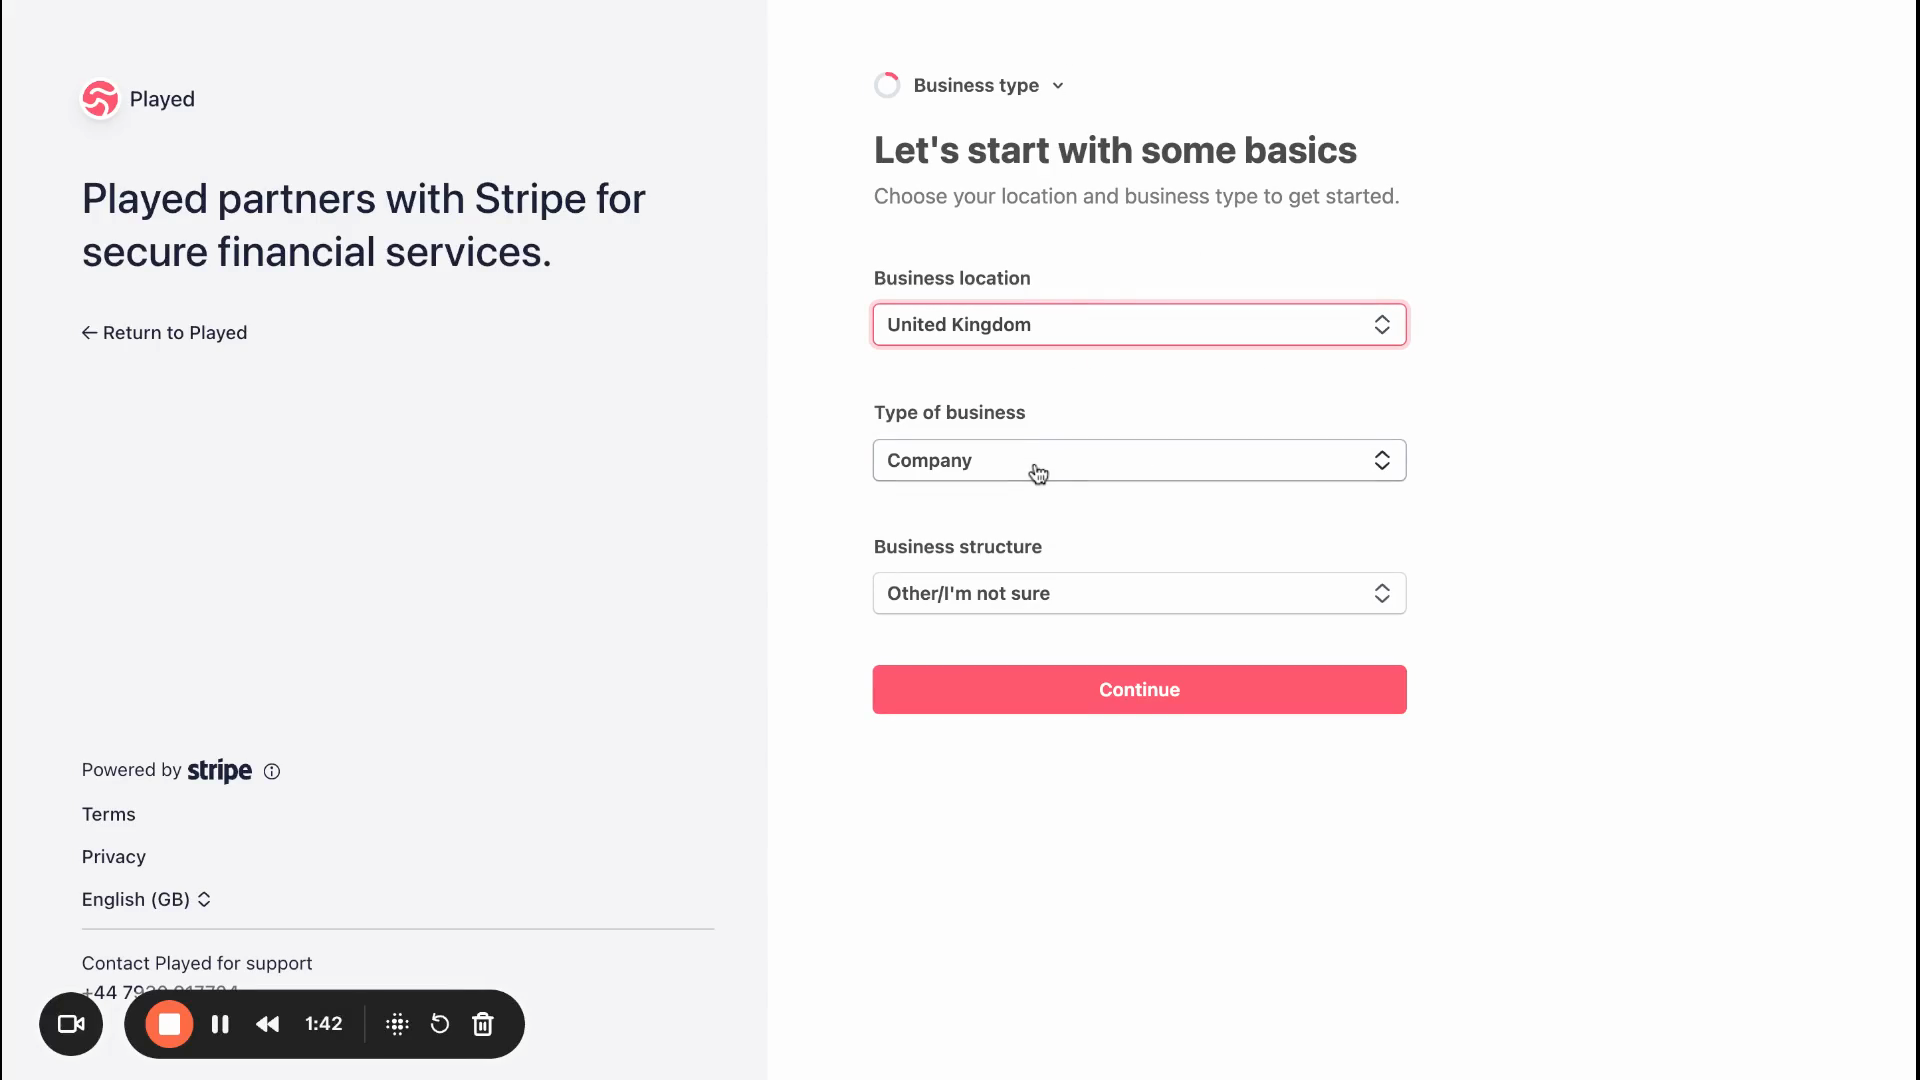
Step 3: Choose your business location and type. Options include individual / sole trader (good for self employed coaches), company (good for limited businesses), or non-profit (good for community clubs)
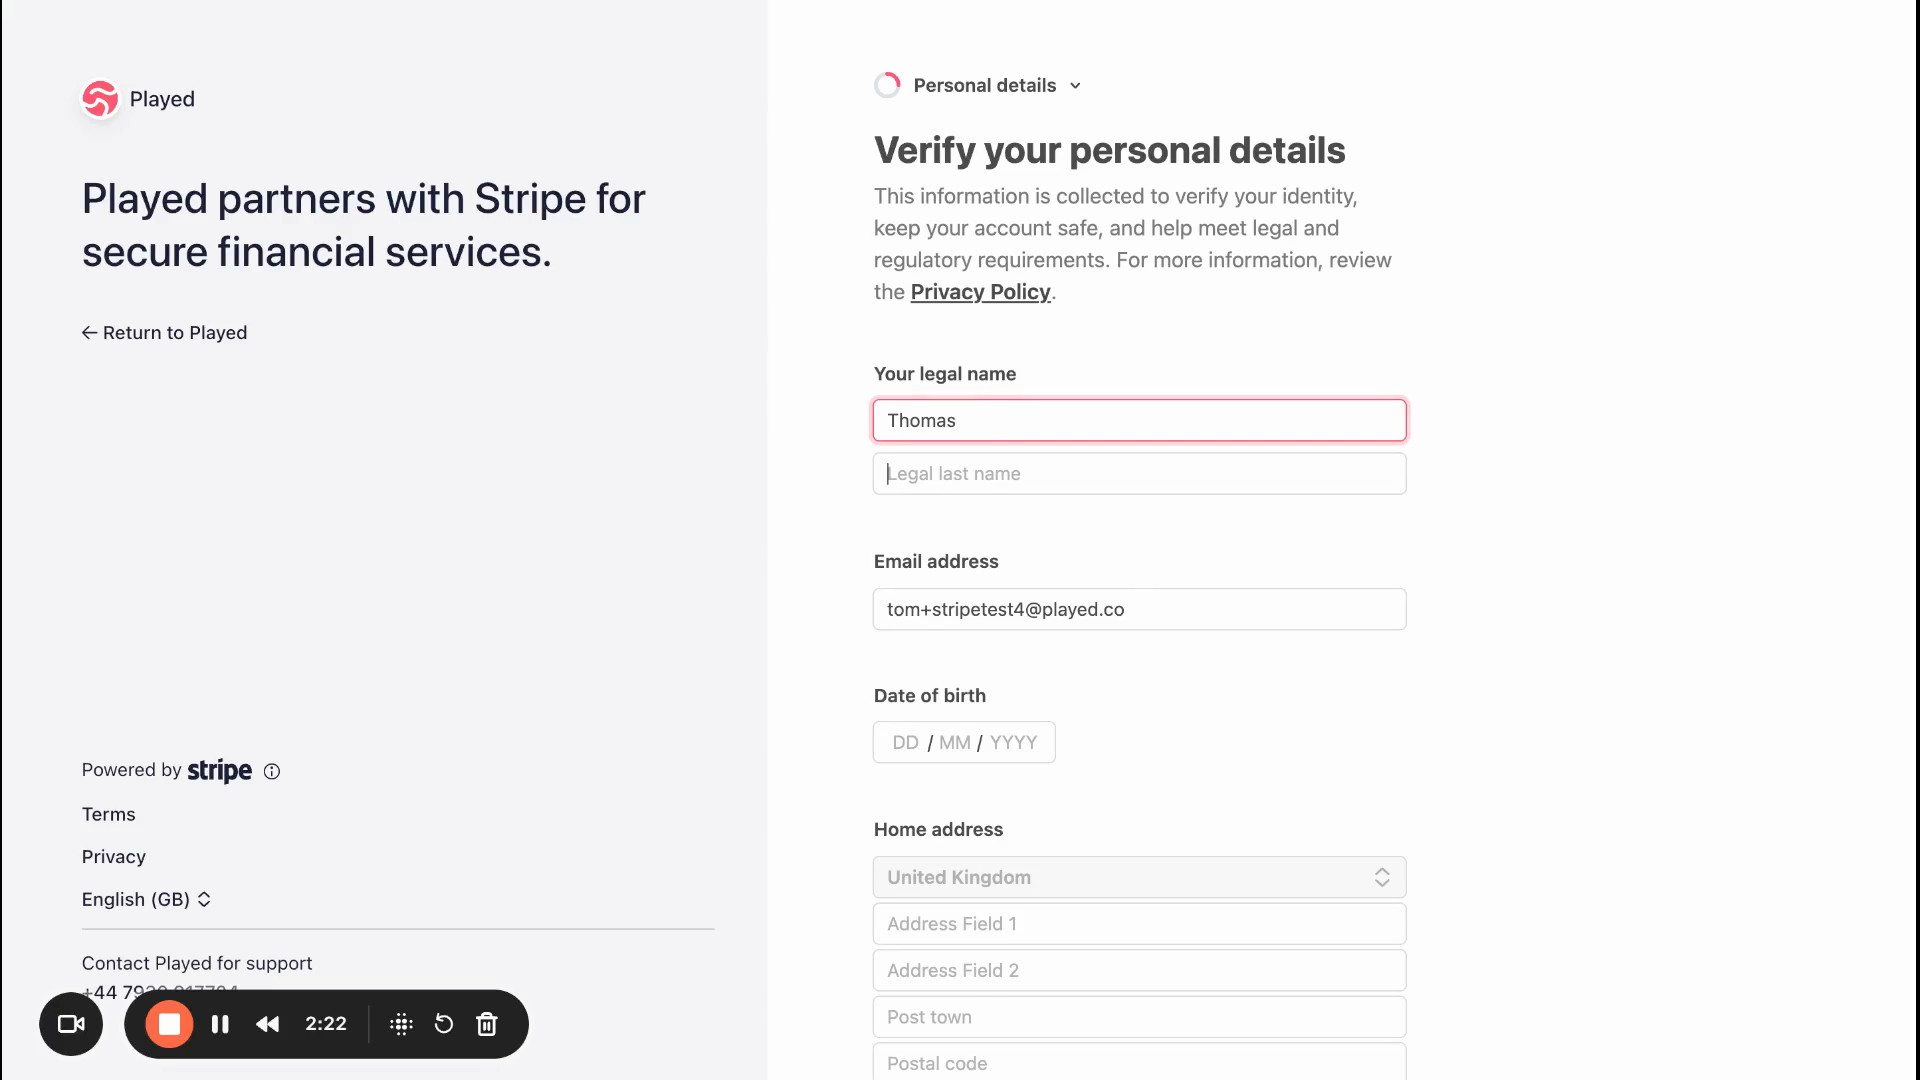
Step 4: Click Submit. Fill in your name, date of birth, home address, and phone number.
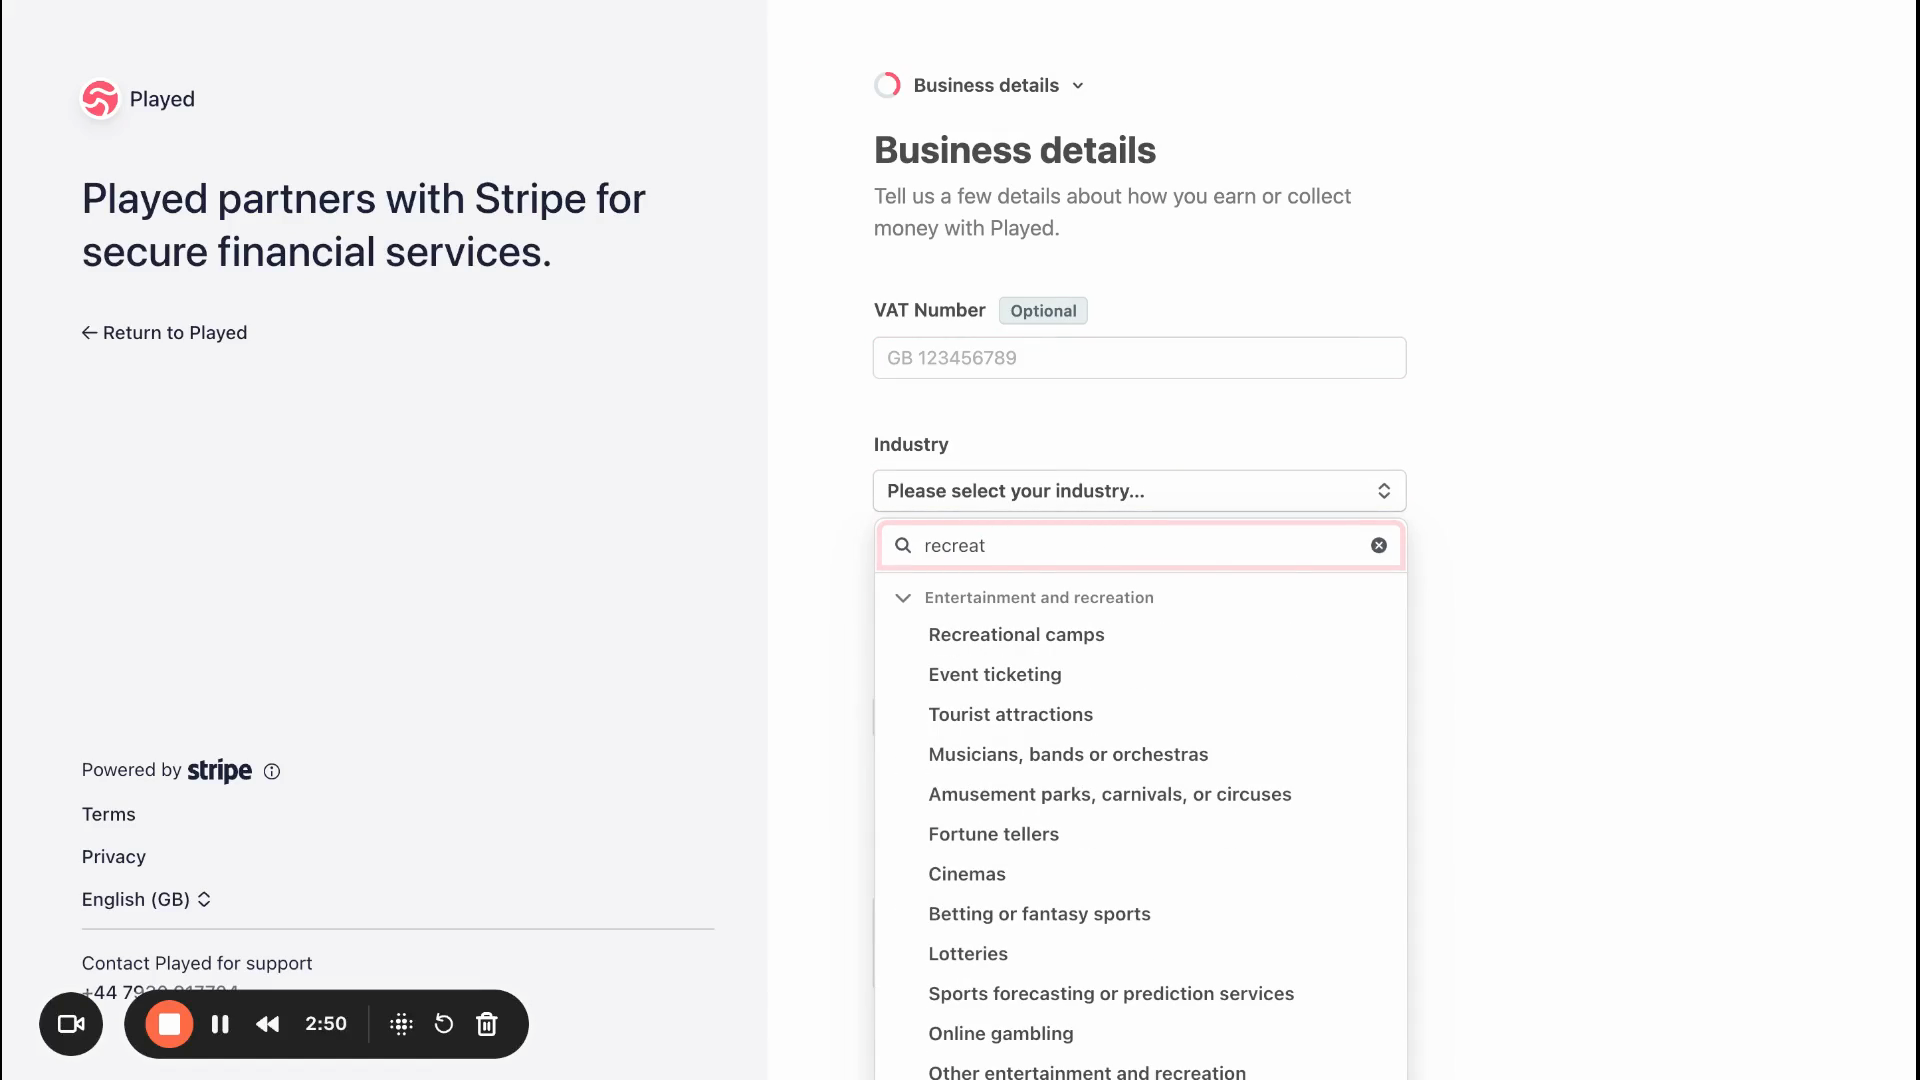
Step 5: Select your industry. There isn't really a perfect fit for activity providers so we recommend choosing either event ticketing or recreational camps.
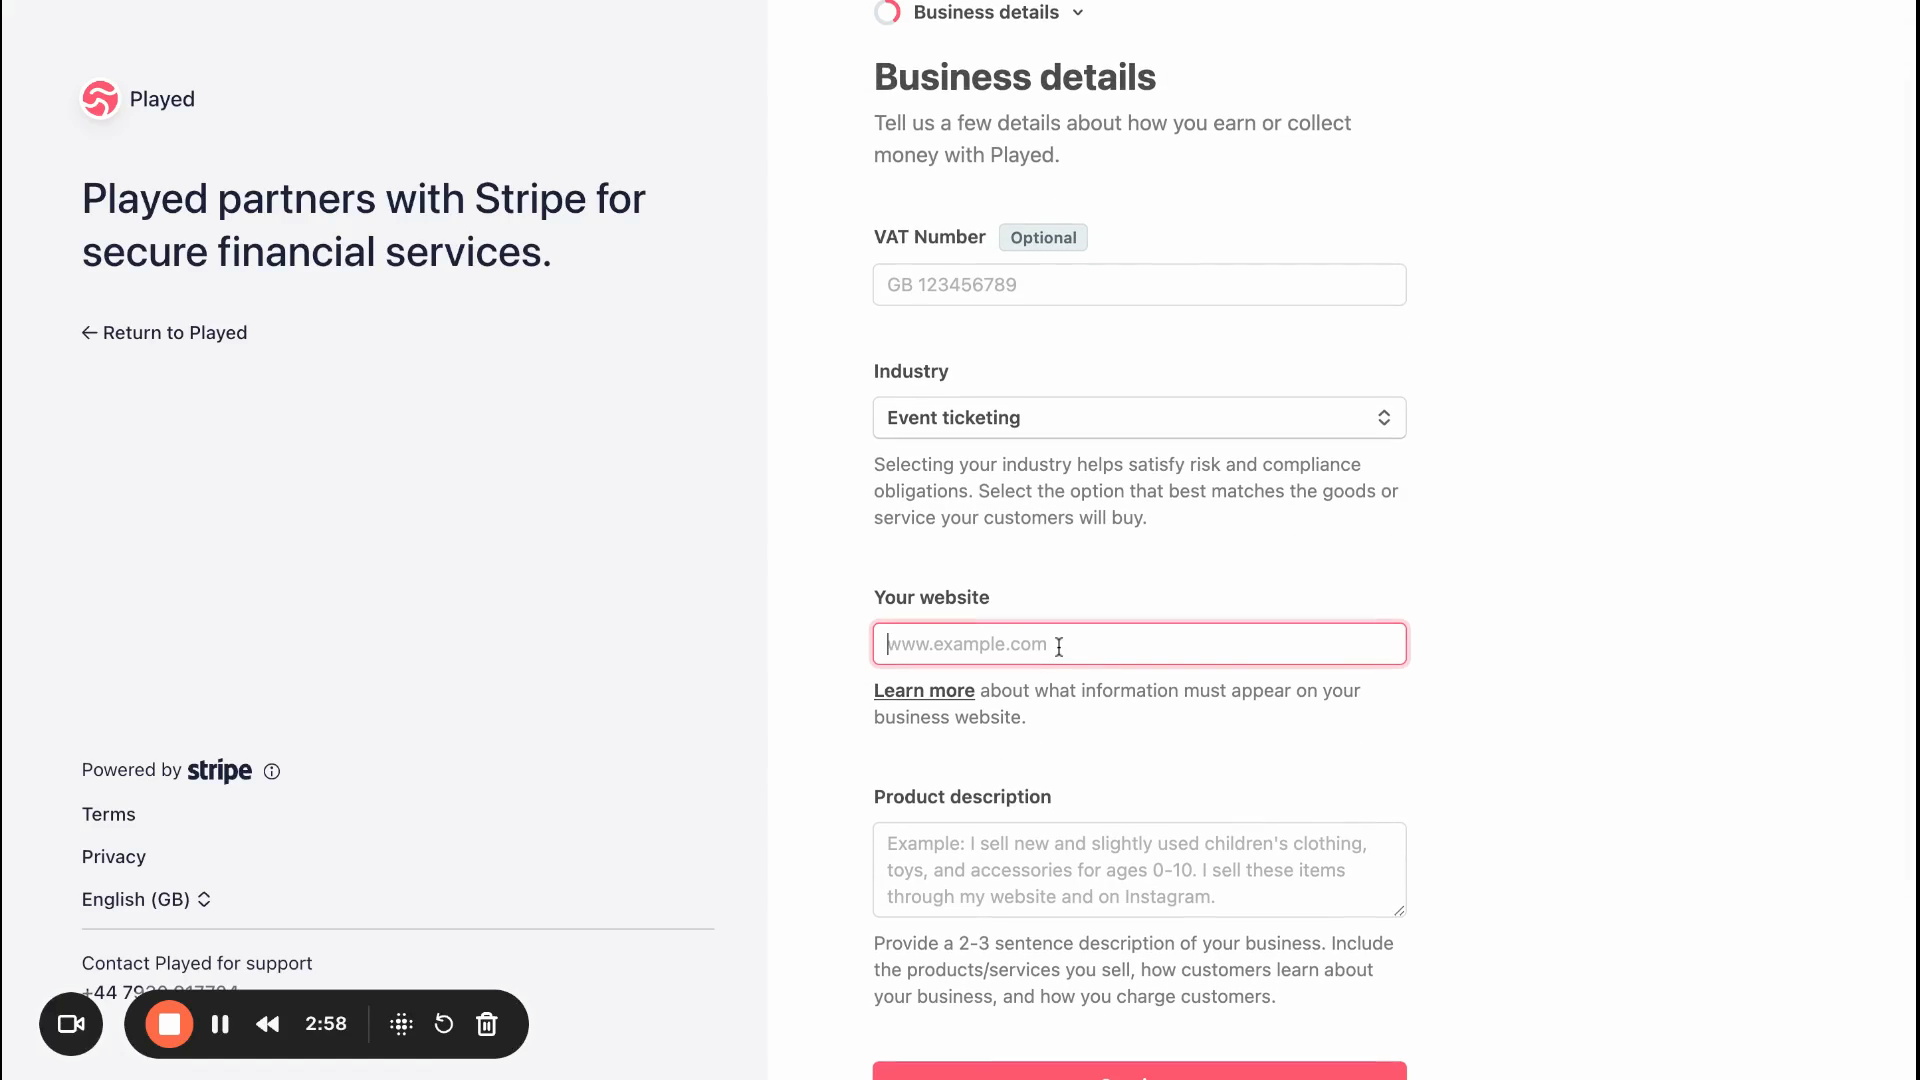
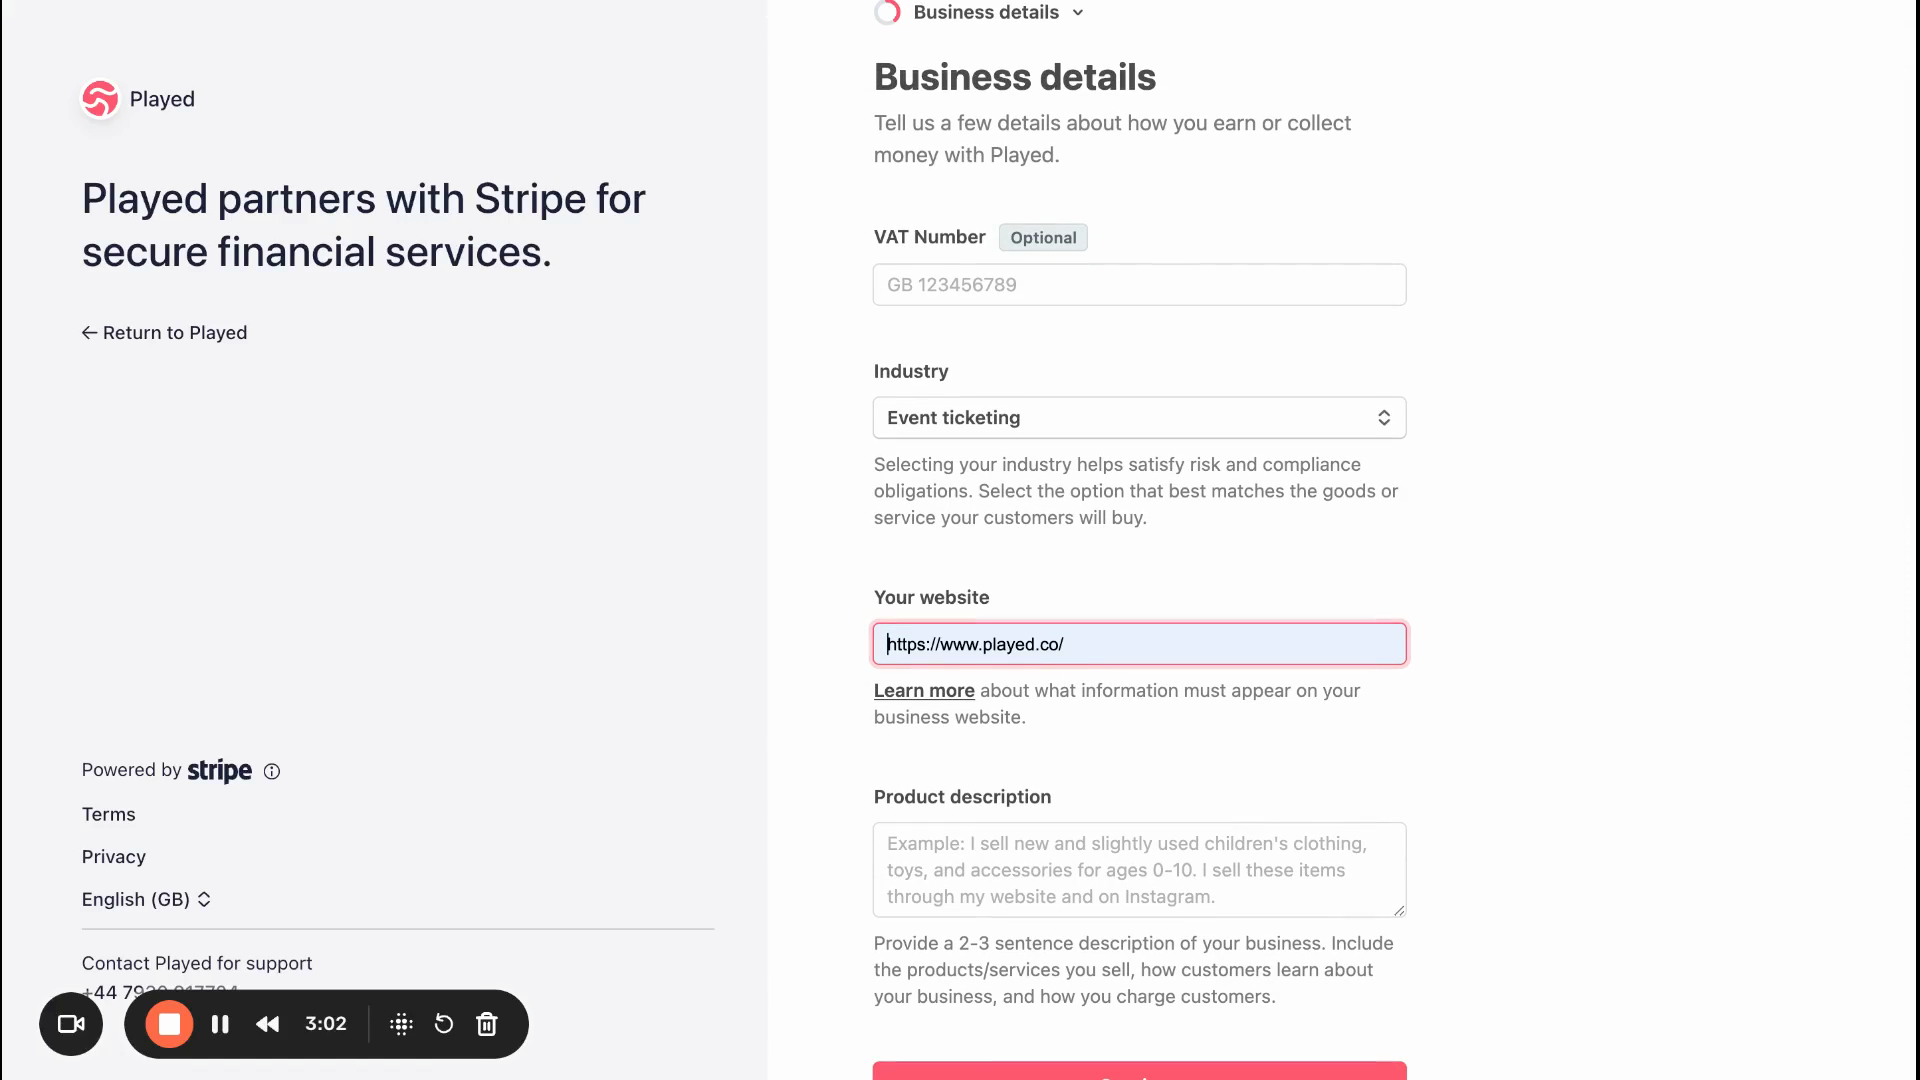
Step 6: Add your website. If you don't have one, use your social media page (if you don't have either then please use - https://played.co/
Step 7: Write a short description of what you do. For example, "I’m a kids sports coach"
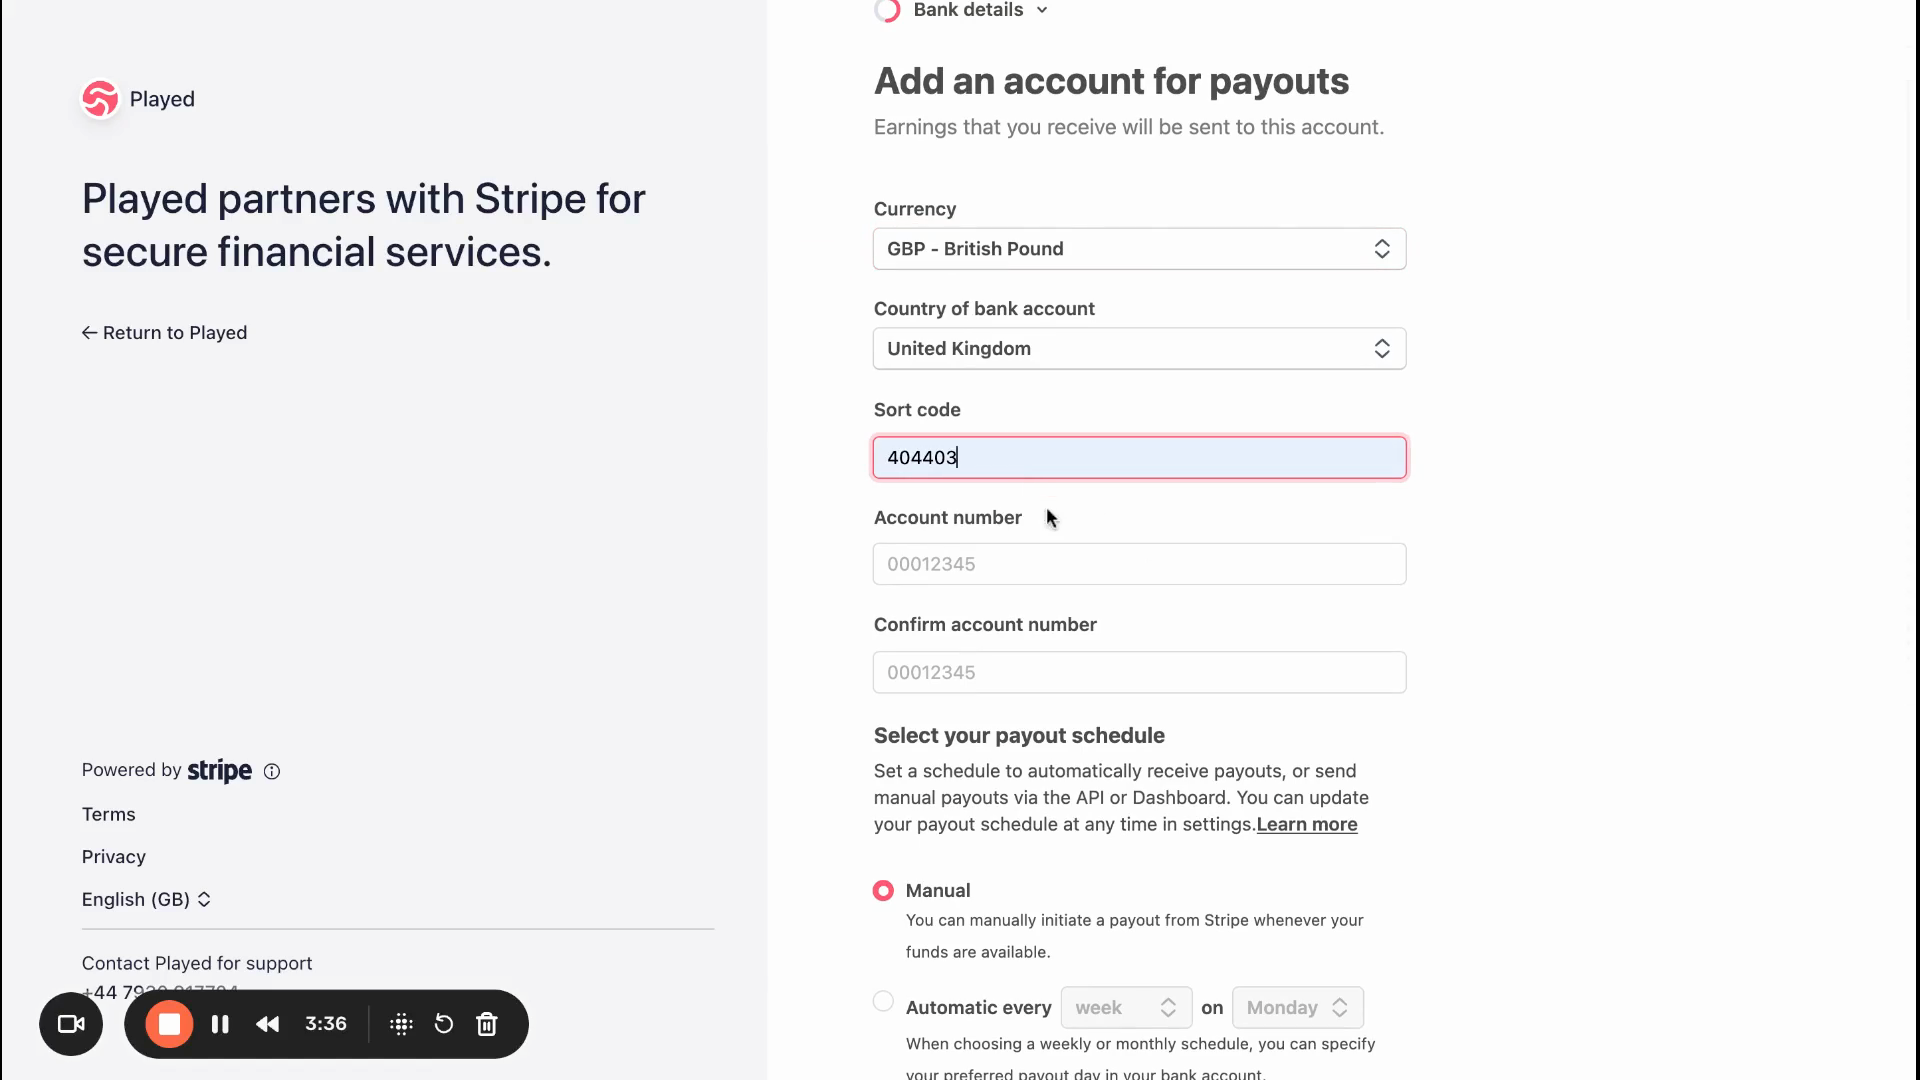
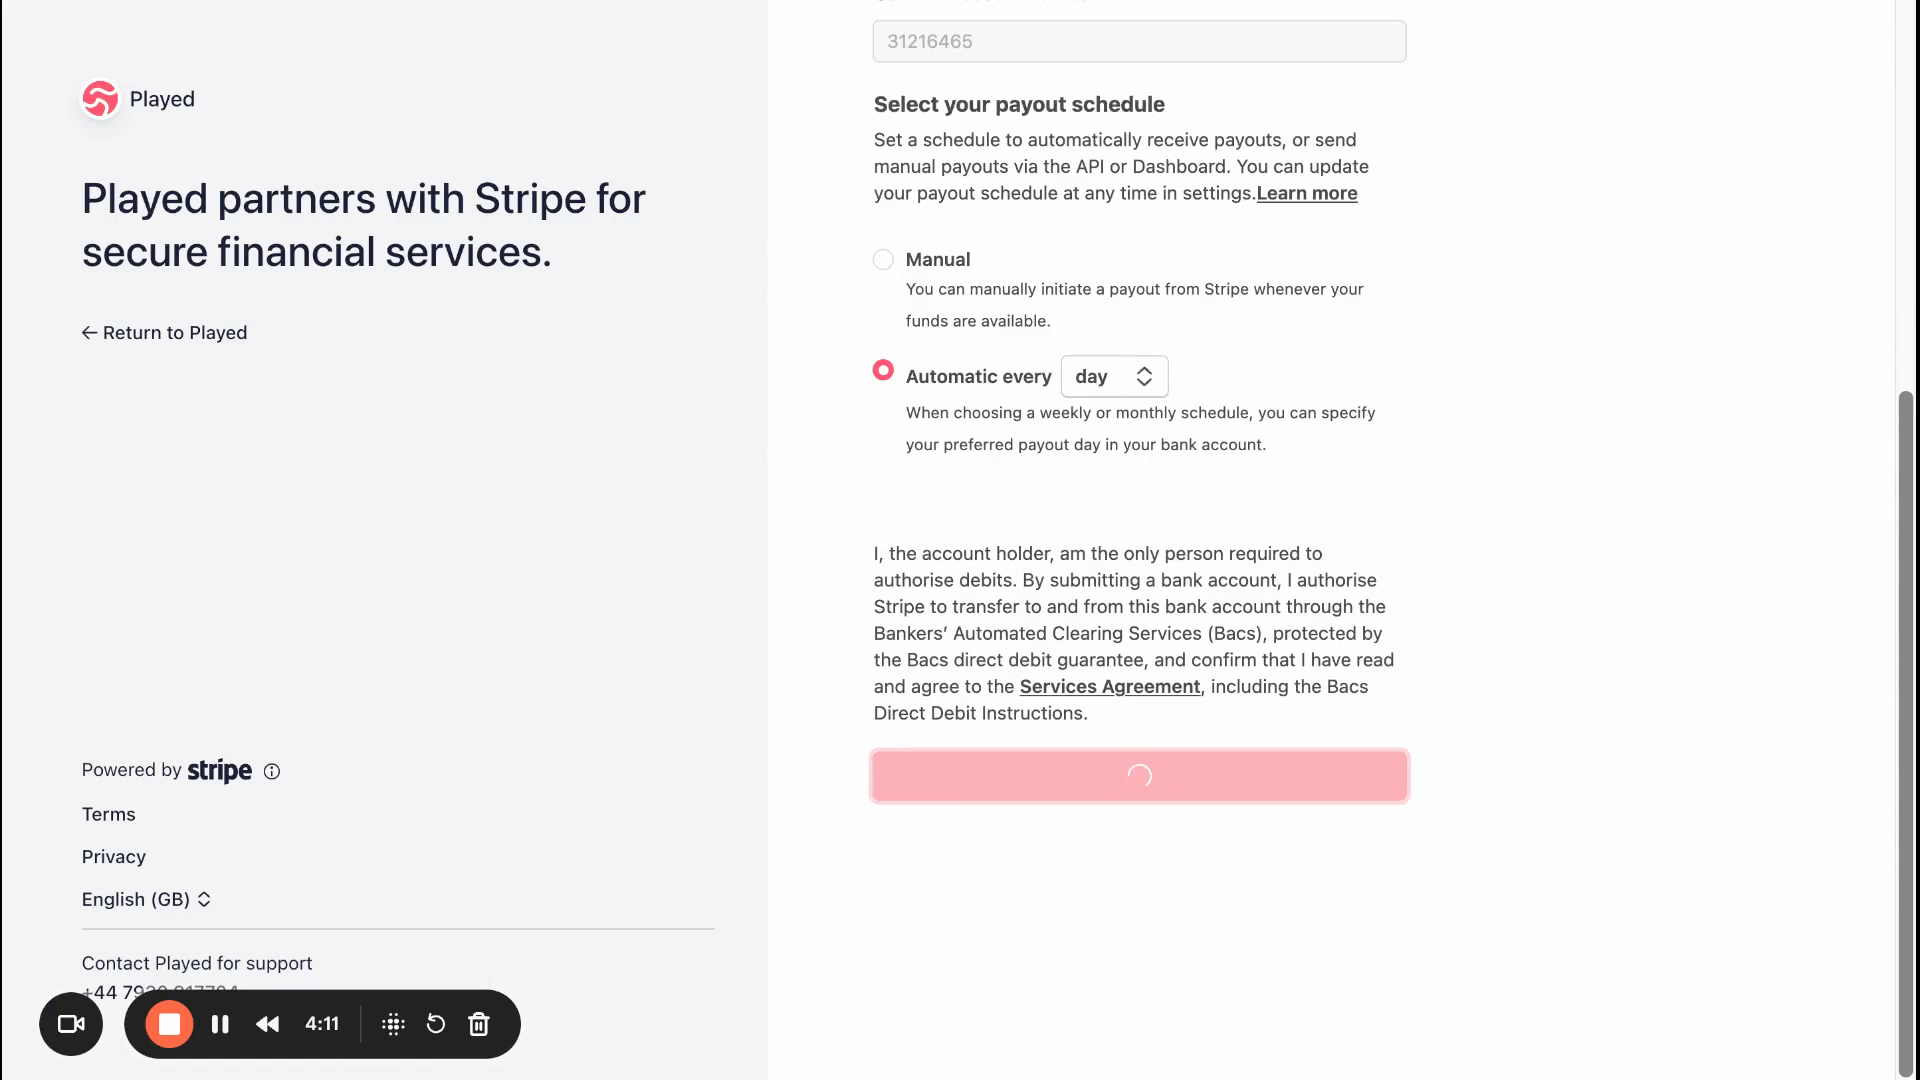
Step 8: Enter your bank details and choose a payout schedule. We suggest setting it to automatic, either daily or weekly.
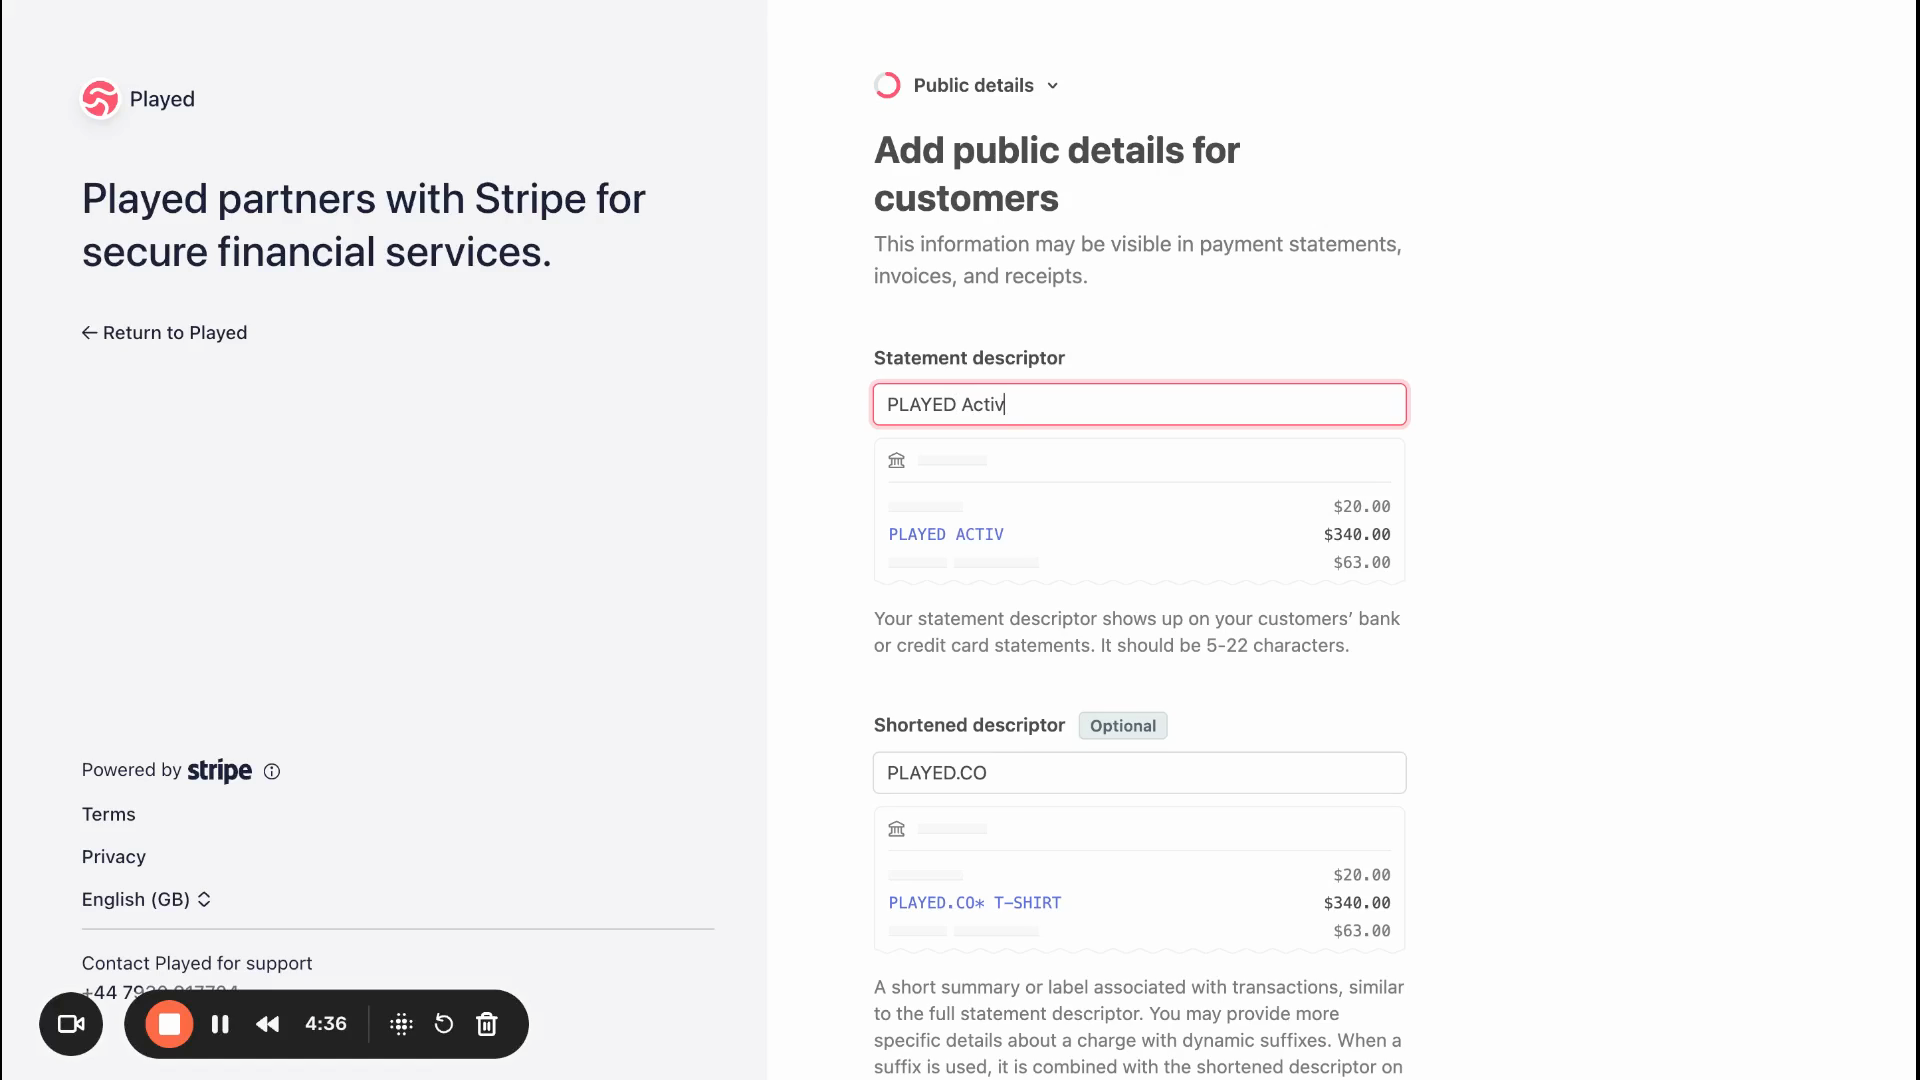
Step 9:
Click Continue. Enter your organisation name or the name that will appear on your customers' statements.
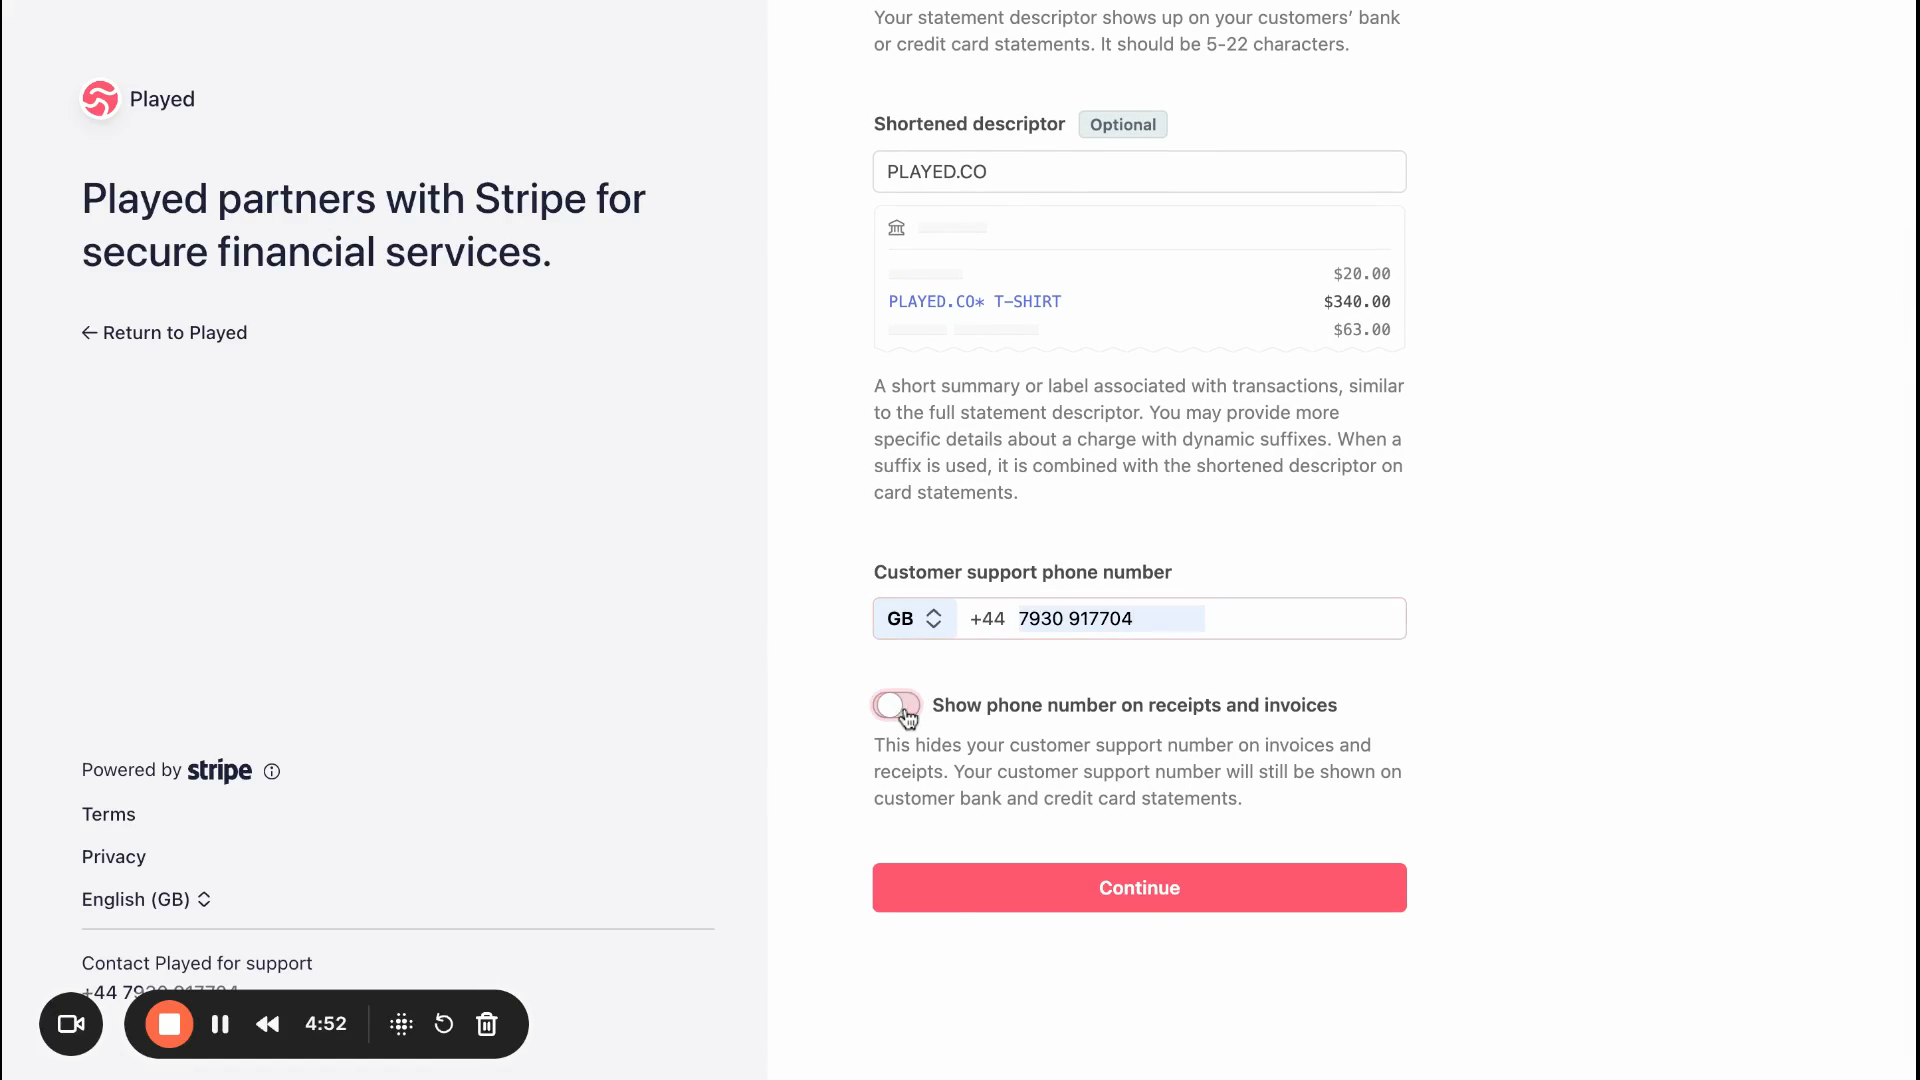
Step 10:
If you want, add a shorter version of your organisation name. For contact info, use your mobile number or leave it blank.
Step 11: Review all the details you’ve entered and make any changes if needed.
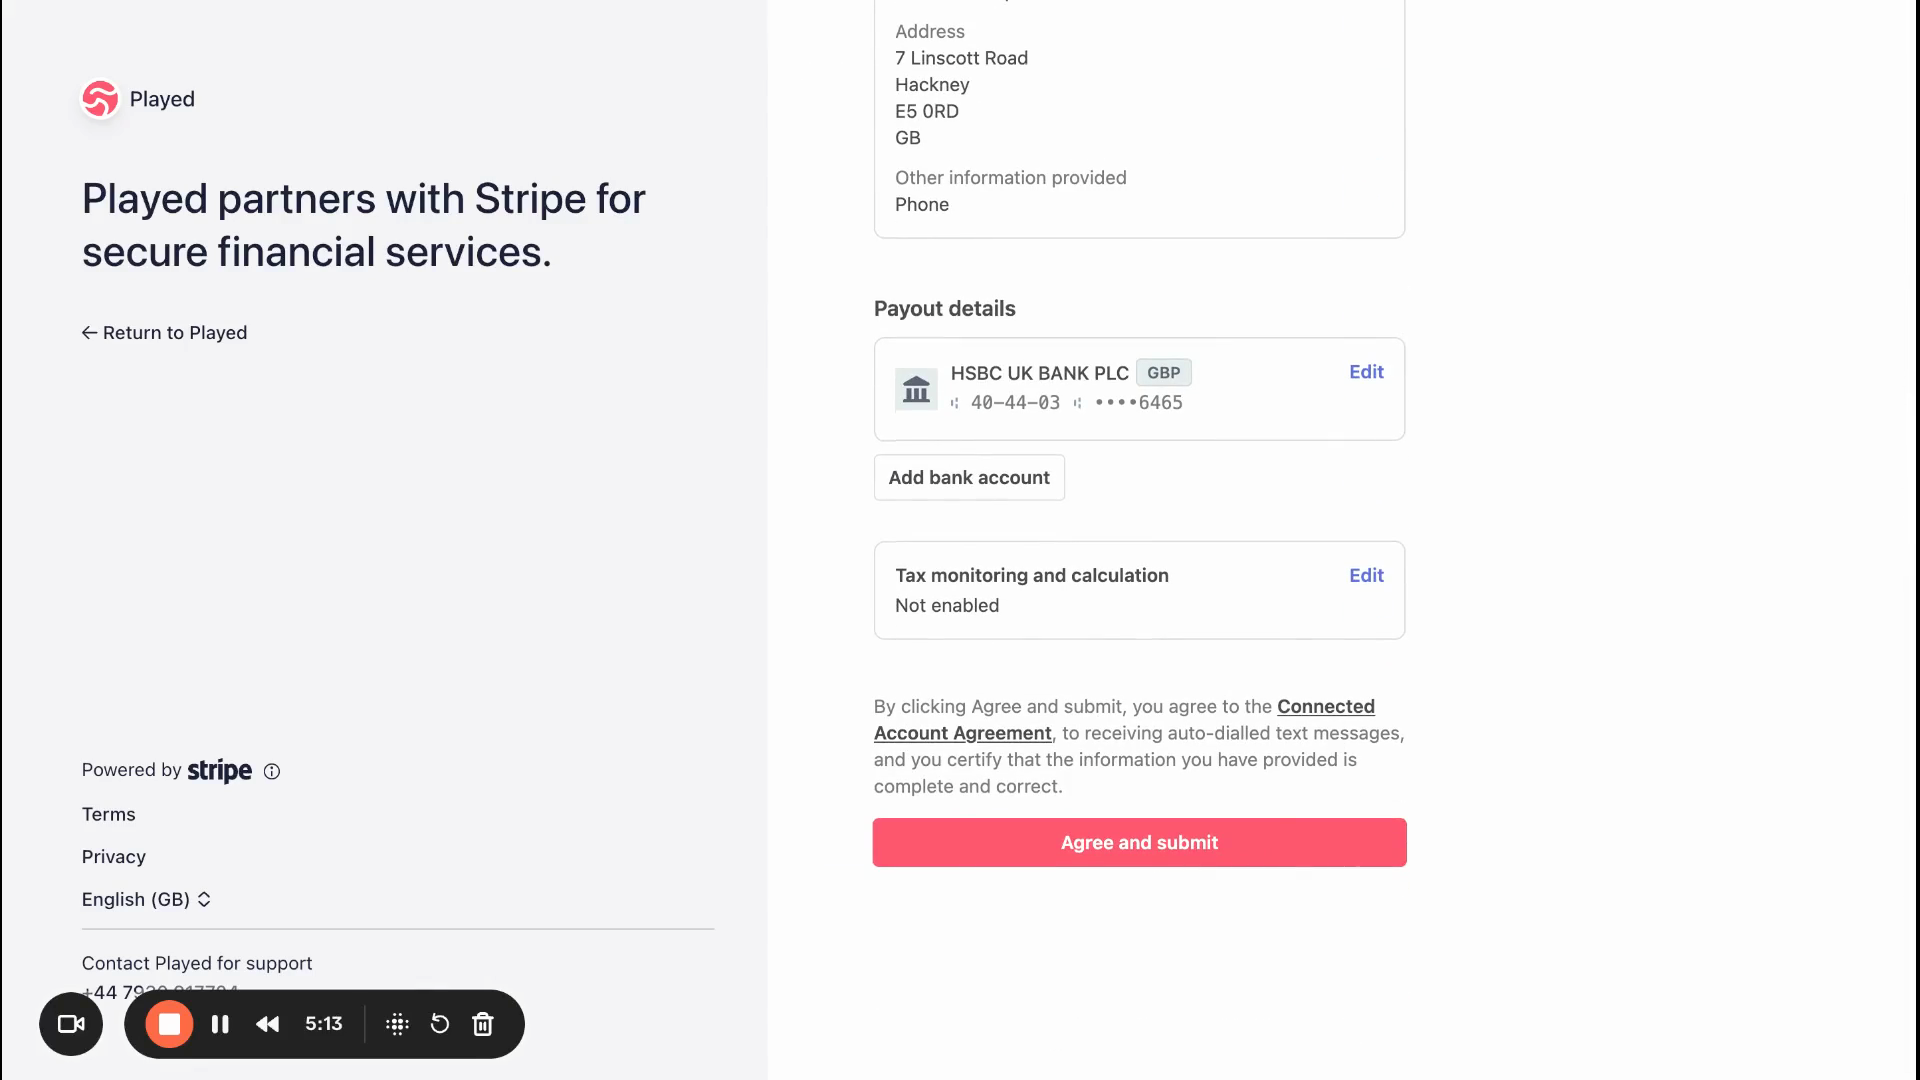
Step 12: Click Agree and Submit.

That’s it! You’ve set up your Stripe account and are ready to accept payments. You will be re-directed to the Played platform.