Record a Conversation
Last updated September 20, 2025
This section will guide you through how to record audio during patient encounters on the web app.
Obtaining Patient Consent for Recording
Privacy and data security is our top priority at Knowtex. We are required by law to seek and obtain either verbal or written permission from each patient before providing such services.
To obtain verbal permission, prior to beginning the recording, you may ask the patient and any accompanying personnel if it is permissible for you to use Knowtex for the duration of the appointment. An example consent question could be something like:
“Would it be okay with you if I use an ambient scribe to record and summarize our conversation? This allows me to focus on you and not have to type while we're talking. I will still review the note and edit the note. If at any point you or anyone with you wants turn this off, just let me know and we can do that.”
How to Record and Pause Audio
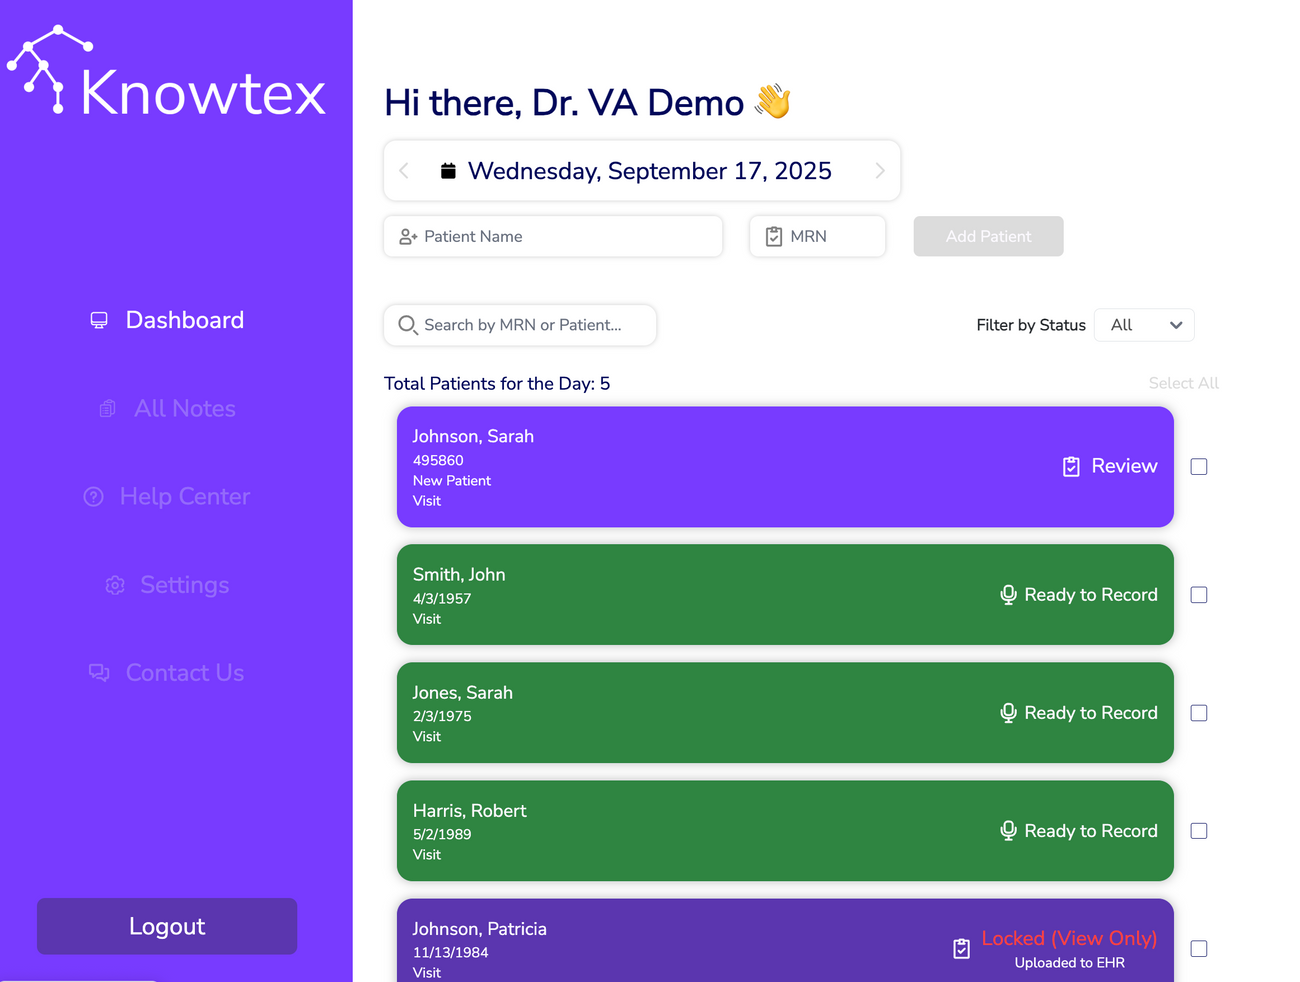
Once you have received consent from the patient to record the conversation, click on the “Record” button in the patient row. For example, if you would like to Record a conversation between you and Test Patient, you would click on "Ready to Record" in the Patient encounter:
After clicking on the button, a new page will appear that will look like this:
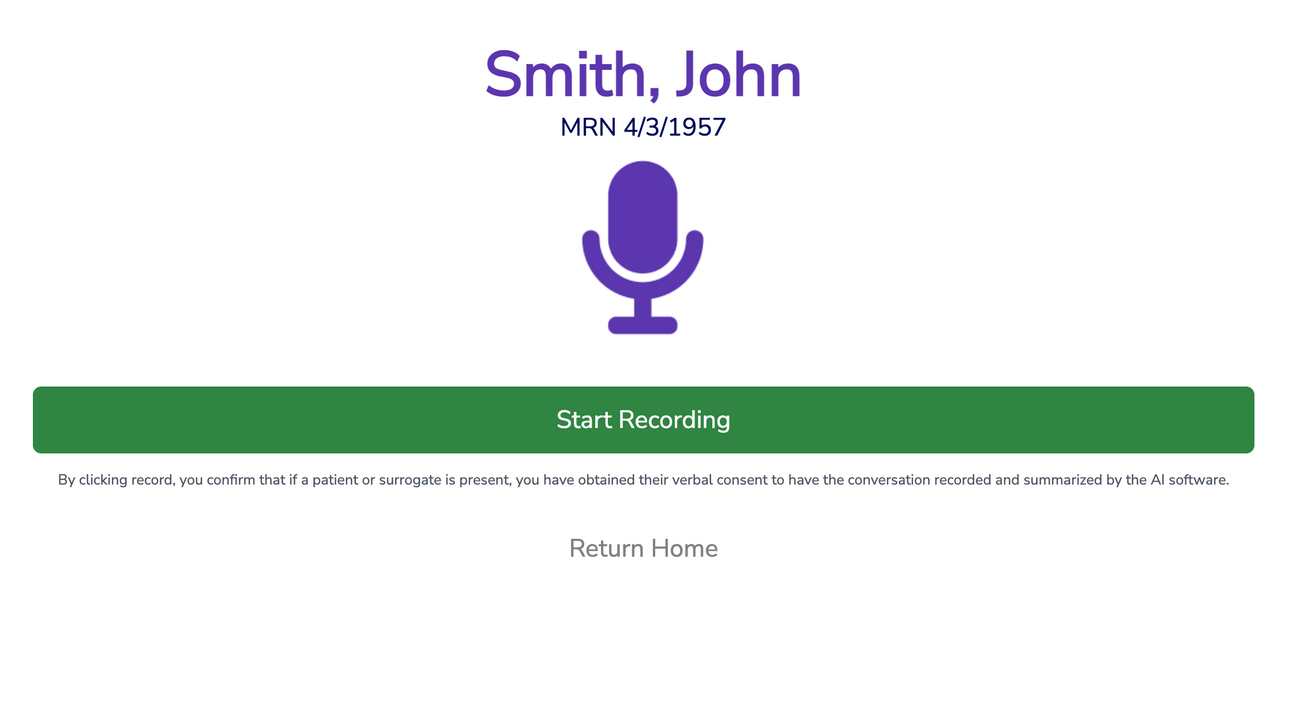
This page will show the patient’s name and MRN, the timer that keeps track of the duration of the recorded audio, the button to press to begin recording, and a return button to return to the Home page.
To begin recording, press the “Record Conversation” button.
After pressing “Record Conversation,” the timer will begin keeping track of the duration of the conversation and two buttons will appear in place of “Record Conversation.” Pressing the "Stop" button will stop the audio recording completely. Pressing the "Pause" button will pause the recording. The microphone icon will also change back into a recording icon when paused or stopped.

If you pause the recording, the page will look like this:

The timer will not continue increasing while the audio is paused, and no conversation will be recorded during this state. Notice that the recording icon has also switched back to the microphone icon to indicate that no recording is occurring. To continue recording the conversation, press the continue button.
How to Upload Audio
When the conversation with the patient is complete, press the Stop recording button and after a few seconds the following screen will appear:

You can play back the audio in its entirety to ensure it was recorded clearly. If you are satisfied with the recording, you can press the Upload button and the audio will be uploaded to be transcribed and summarized automatically.
After you have uploaded the audio file, you can either choose to upload another audio for this patient, or return to the Home Page.
How to Delete Audio
If you do not want to submit the audio file, you may press “Delete” and the audio file will be deleted permanently and will not be stored anywhere.