
Setting up Stripe - Clubs
Last updated March 24, 2025
In this guide, you'll learn how to connect your bank account to Stripe for payment processing. This is especially helpful for community or volunteer clubs.
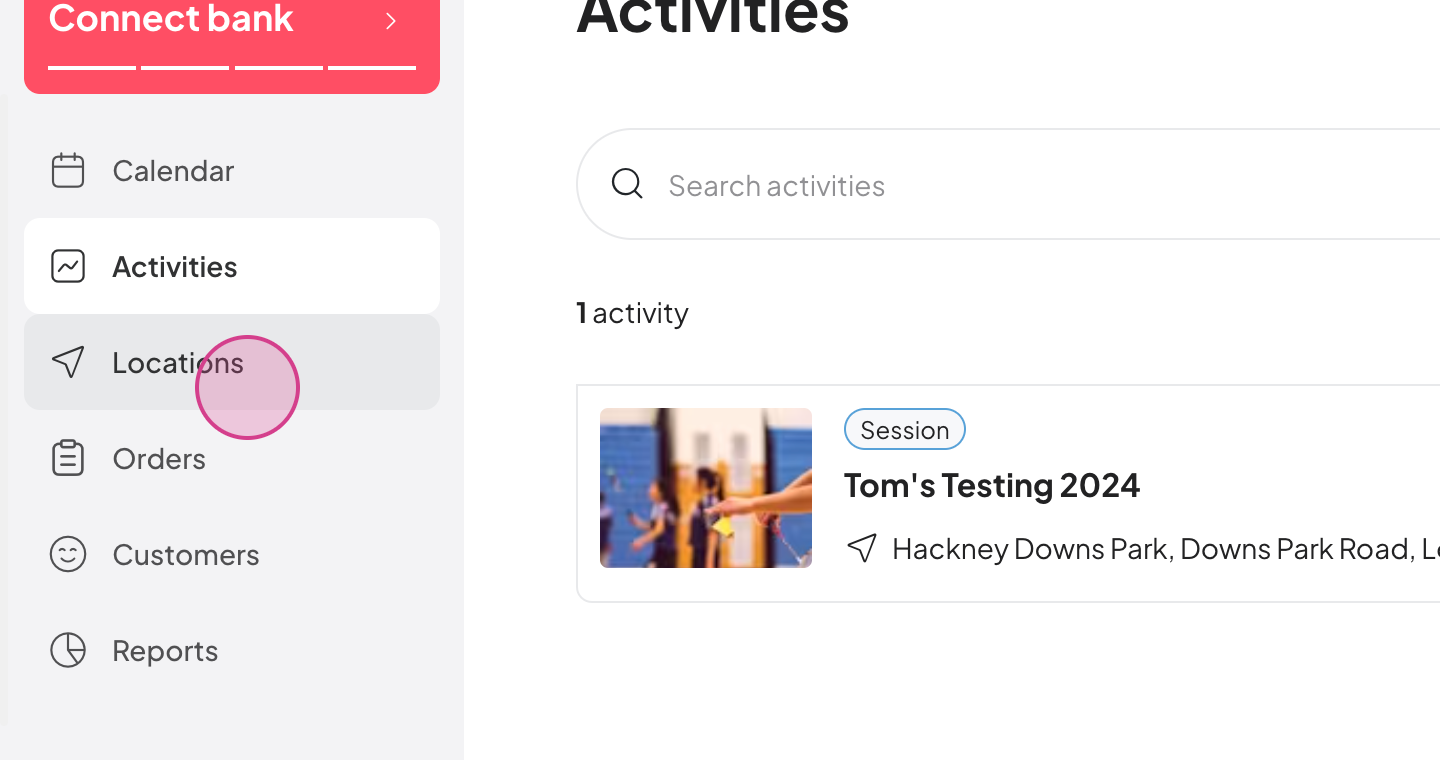
Step 1: Find the Connect bank widget on the left side after listing your first activity. Click it. (if you cannot see this widget, go to 'locations' and then 'edit location' and scroll down to 'payment settings'
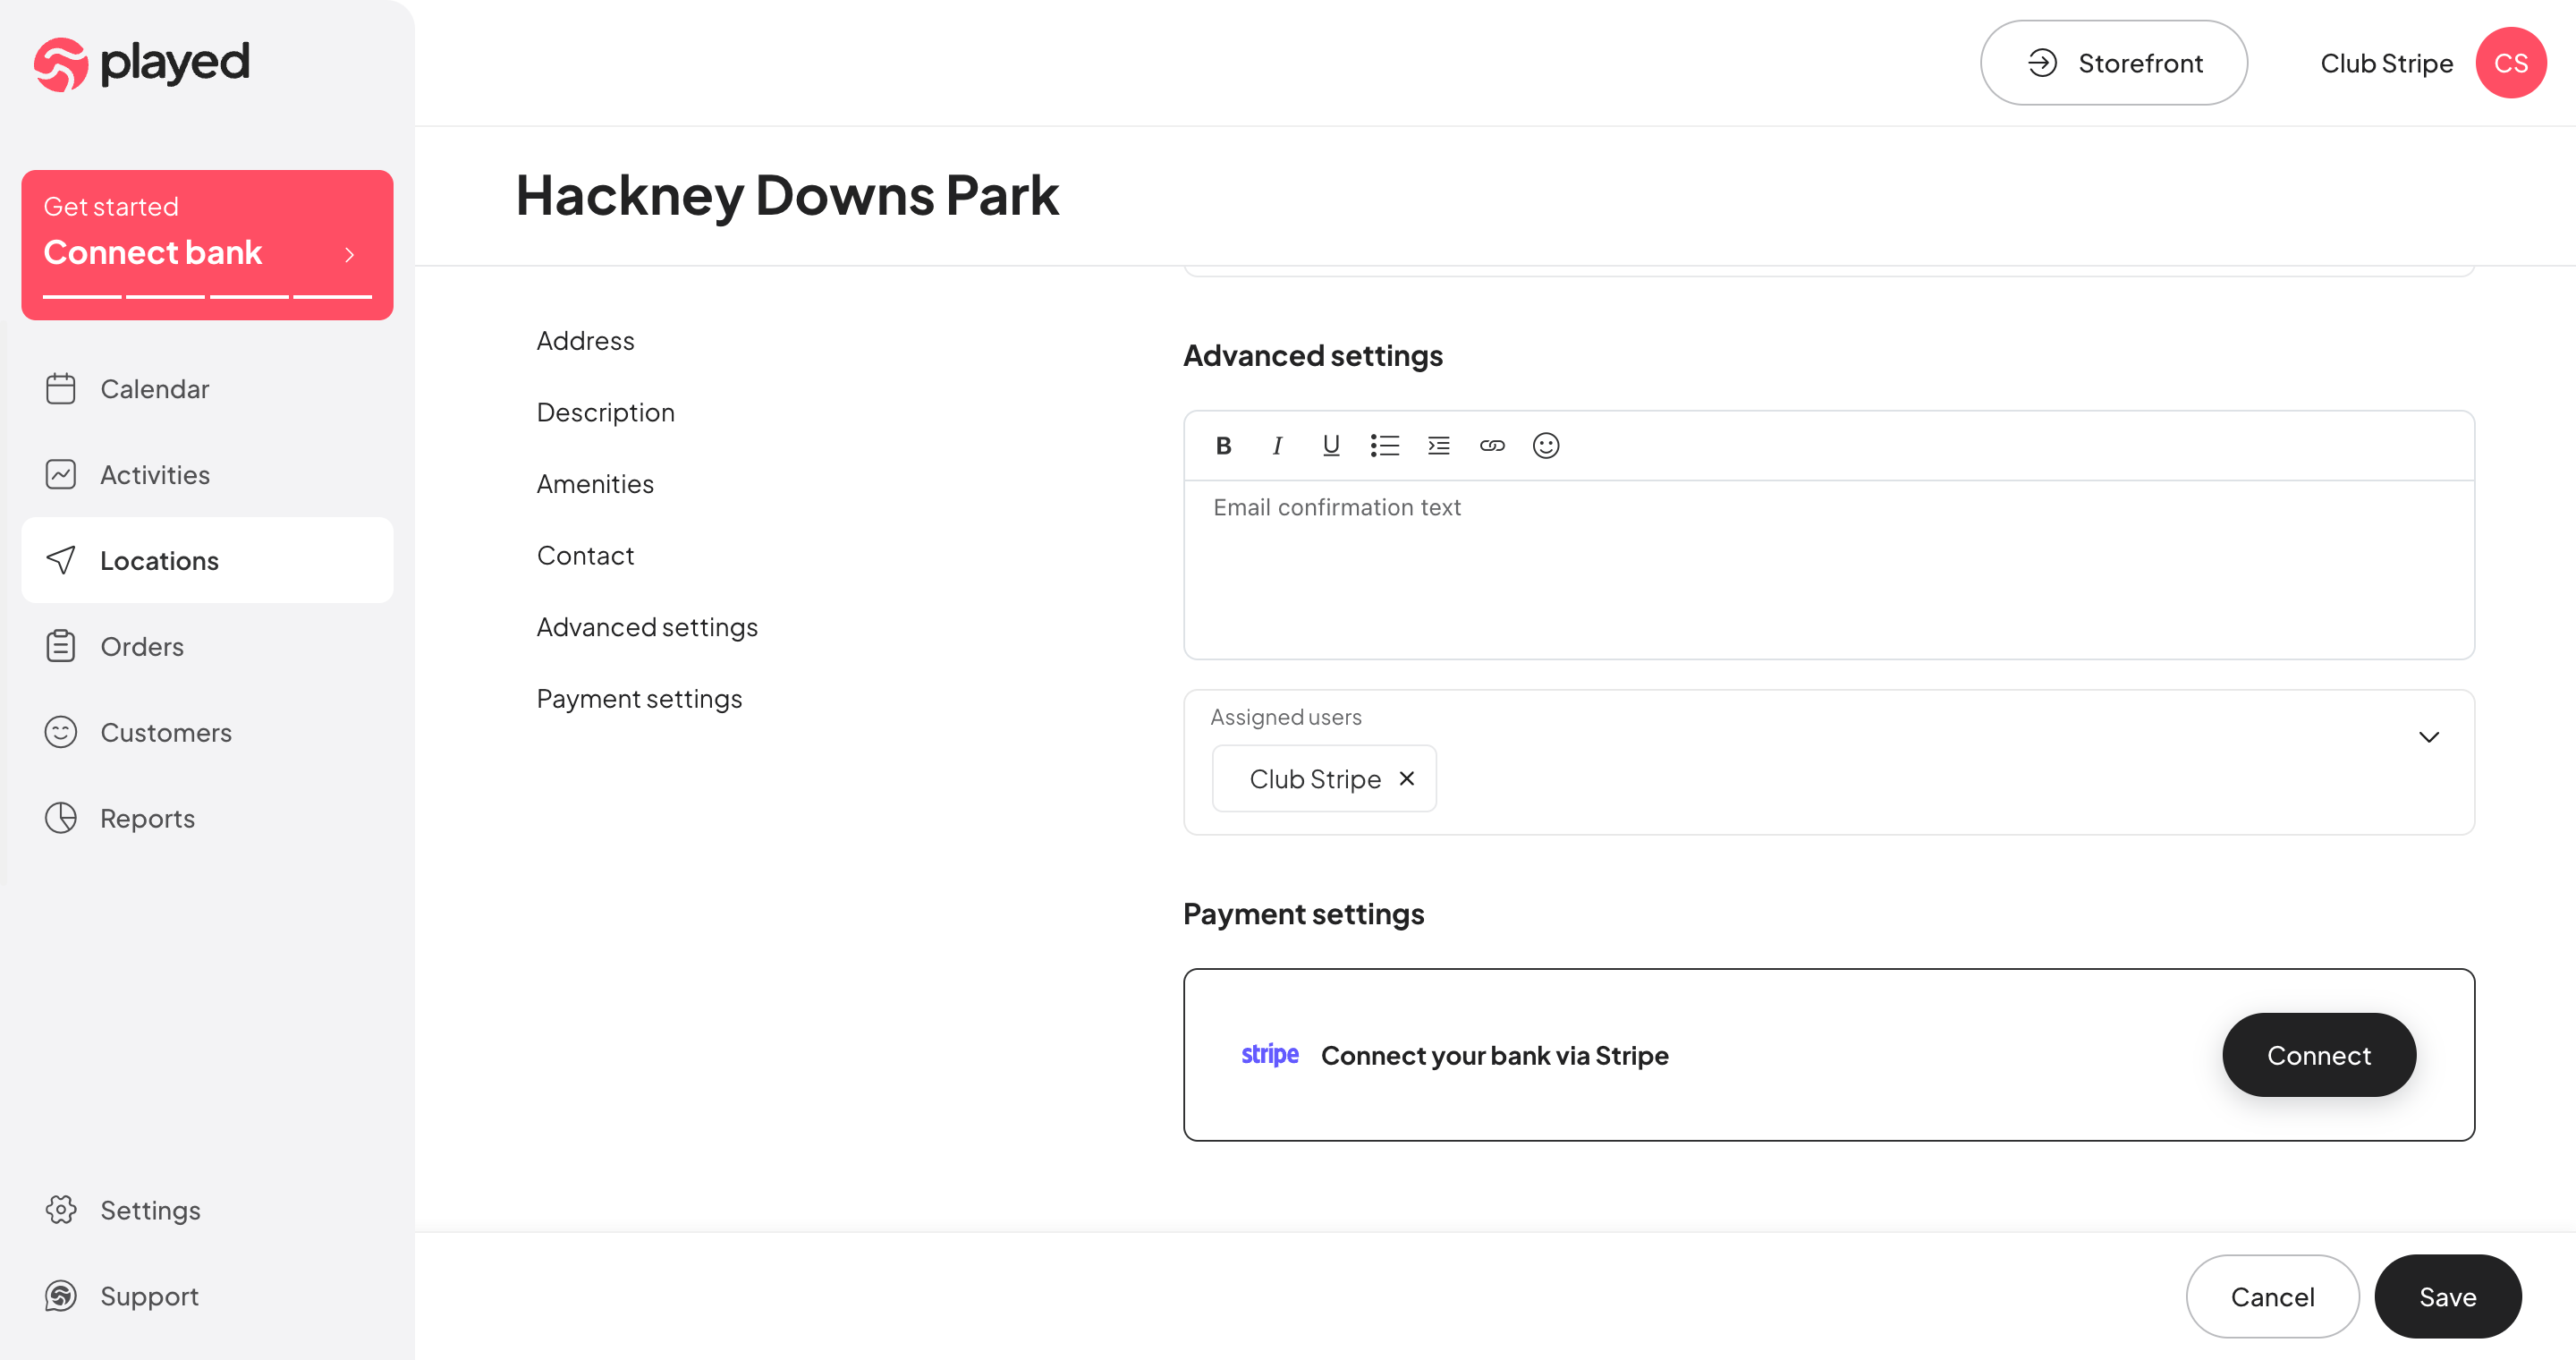
Step 2: Go to payment settings and click Connect under connect your bank via Stripe.
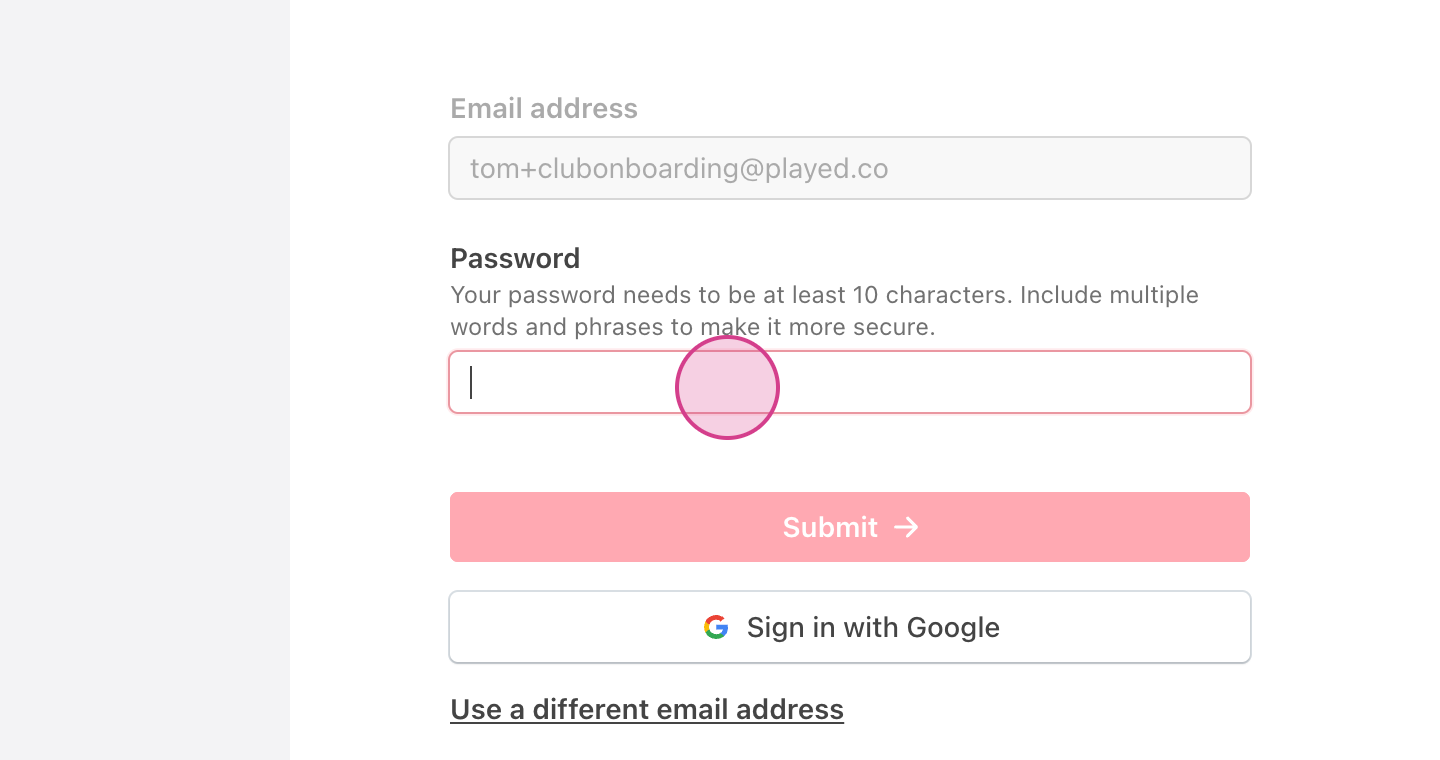
Step 3: A new page will open. Enter your email address.
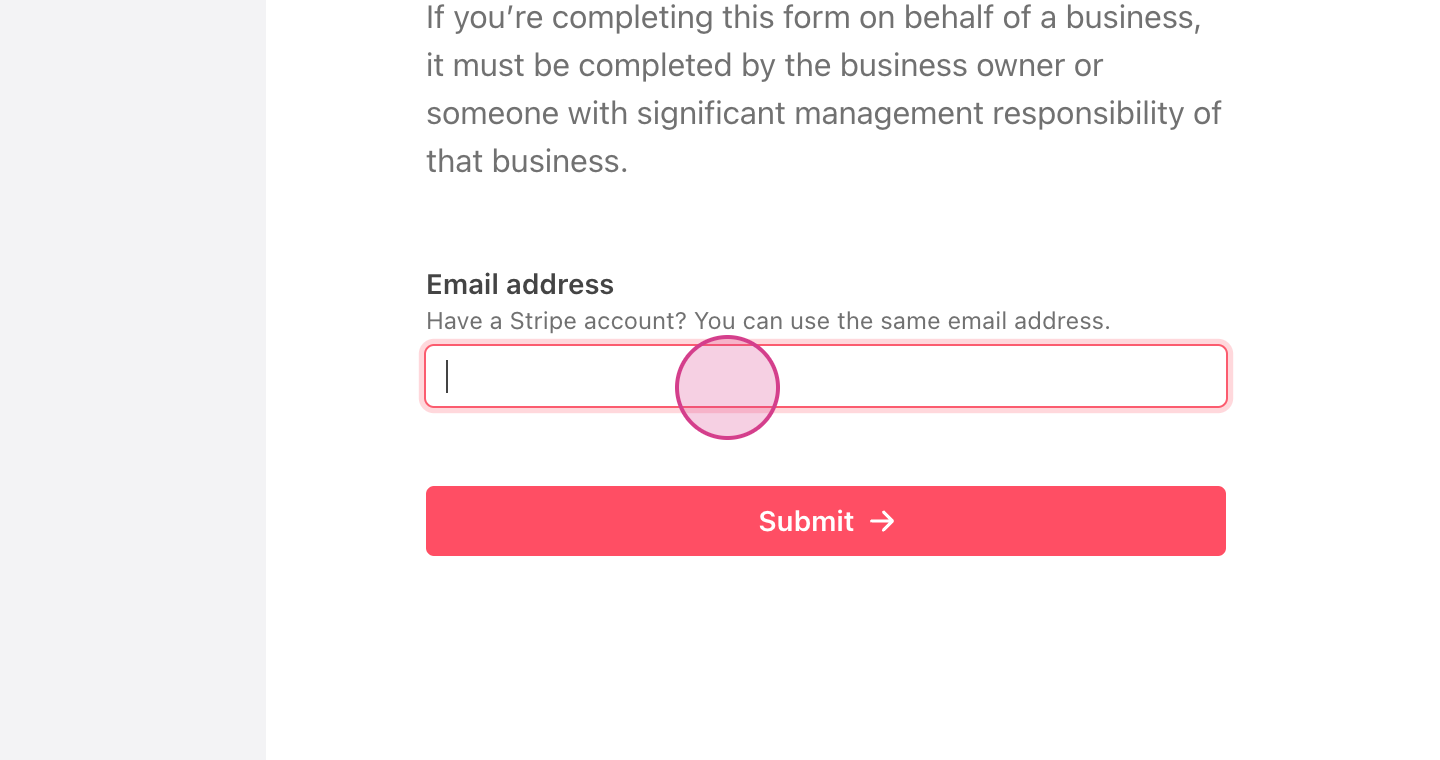
Step 4: If you already have a Stripe account, use the email linked to it. If not, use your login email or any preferred email.
Step 5: For two-step authentication, click use your phone. Enter your mobile number to get a verification text.
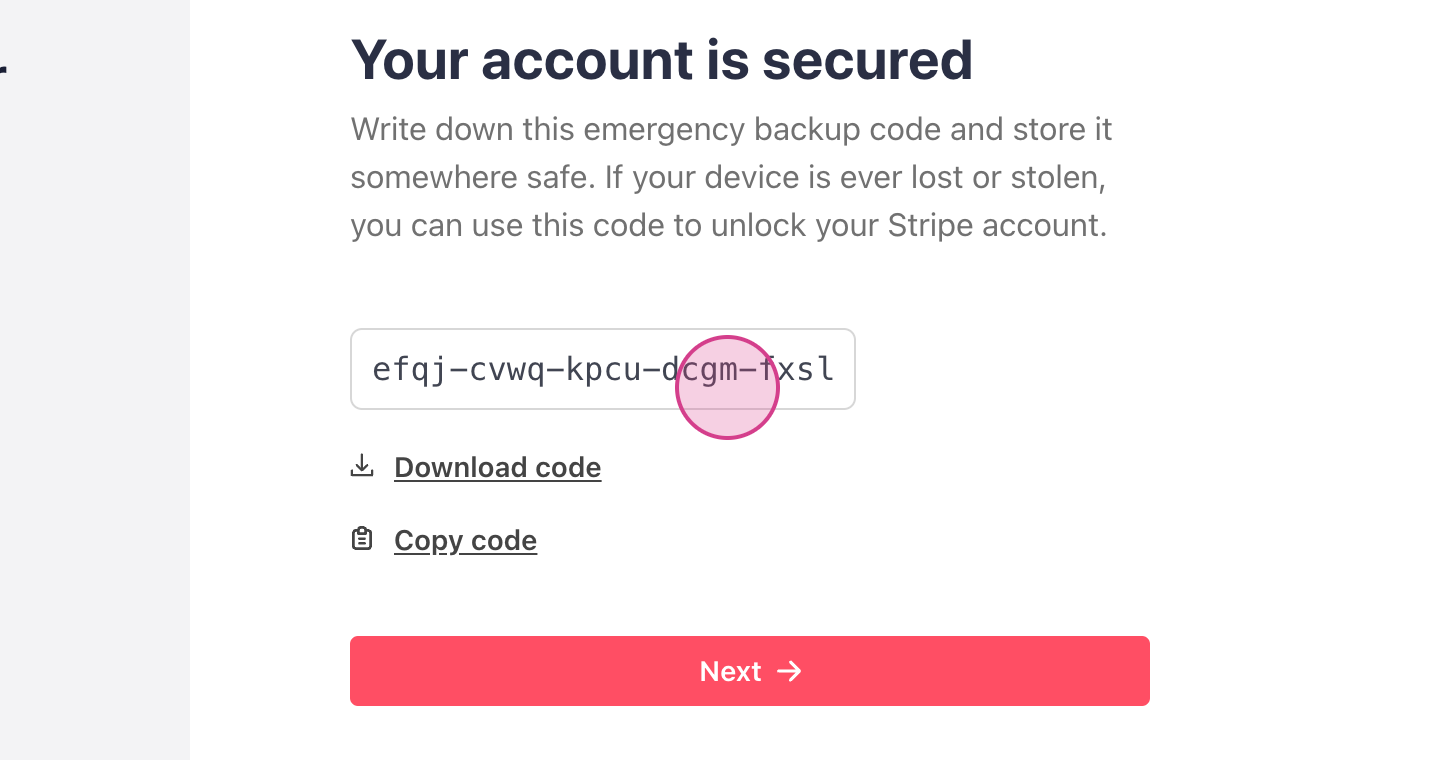
Step 6: Enter the verification code from the text and click Next.
Step 7: If your club is a registered business, select company. If not, choose non-profit.
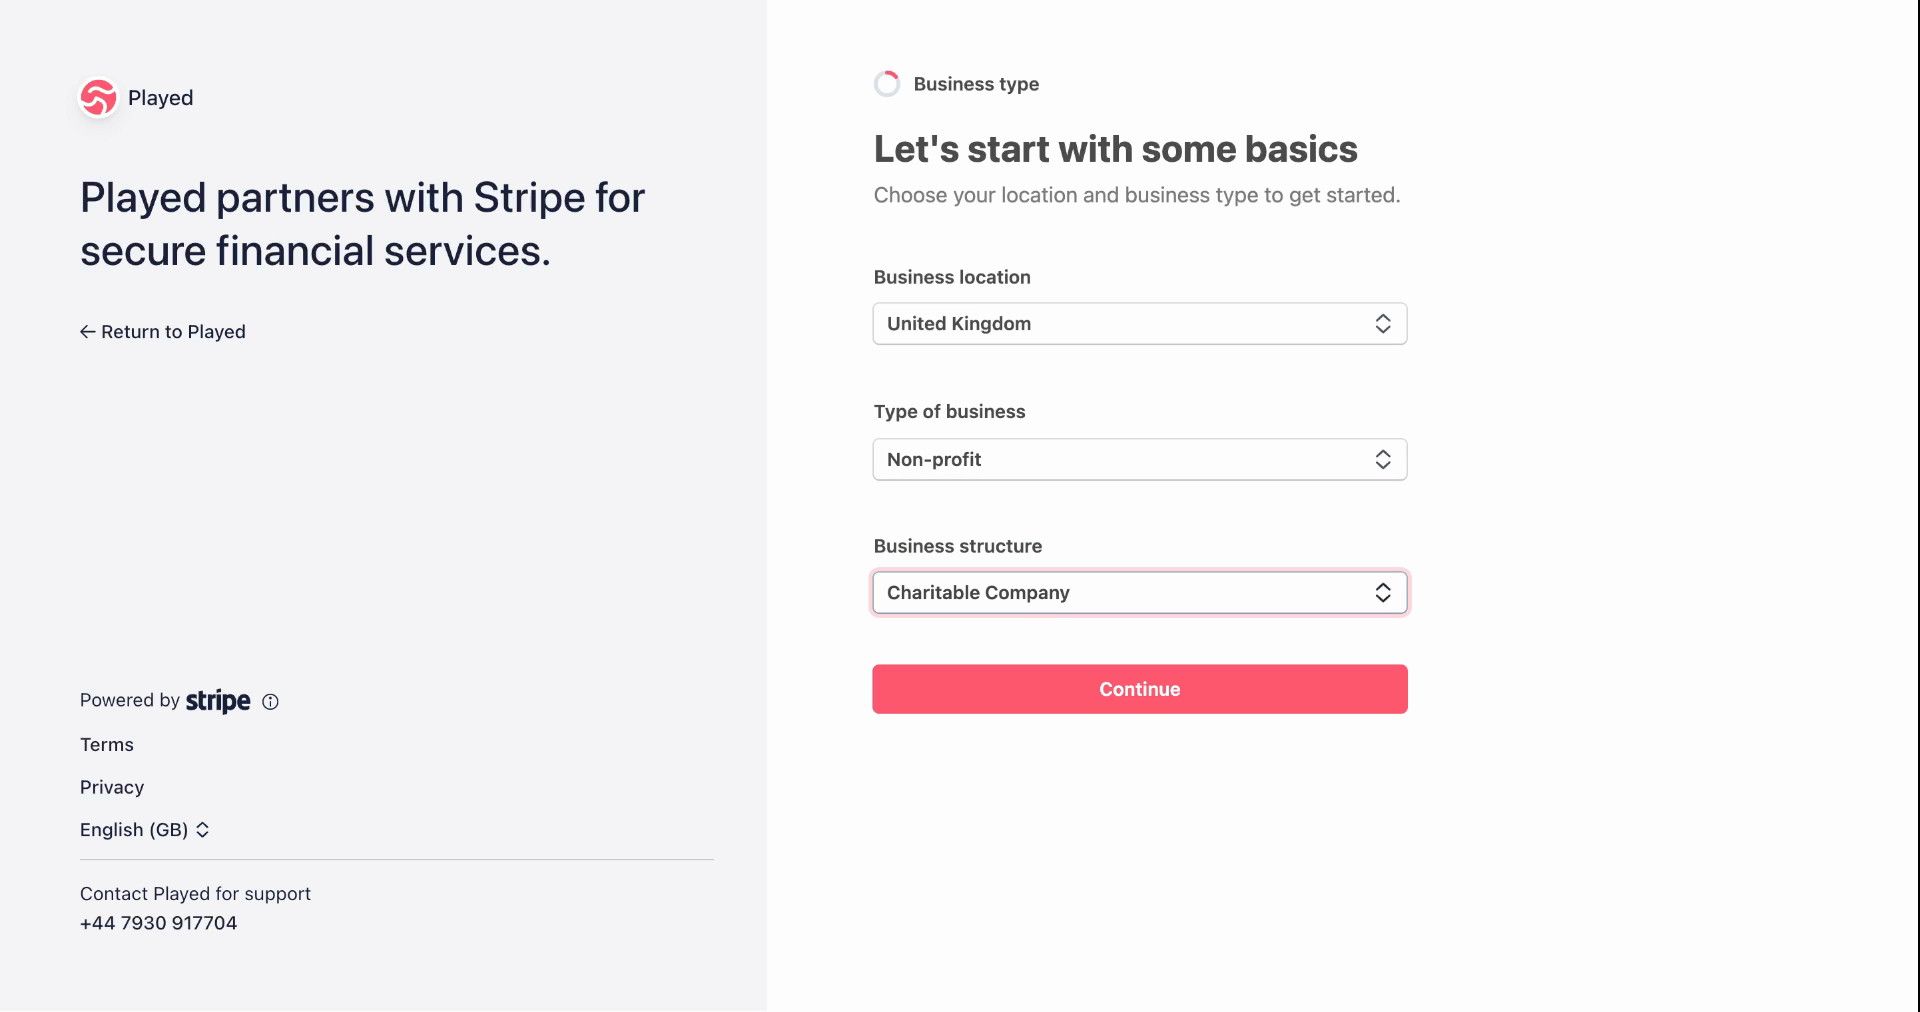
Step 8: Pick your club's status: If it's a registered charity, select charitable, if it's not registered then choose other / I'm not sure.
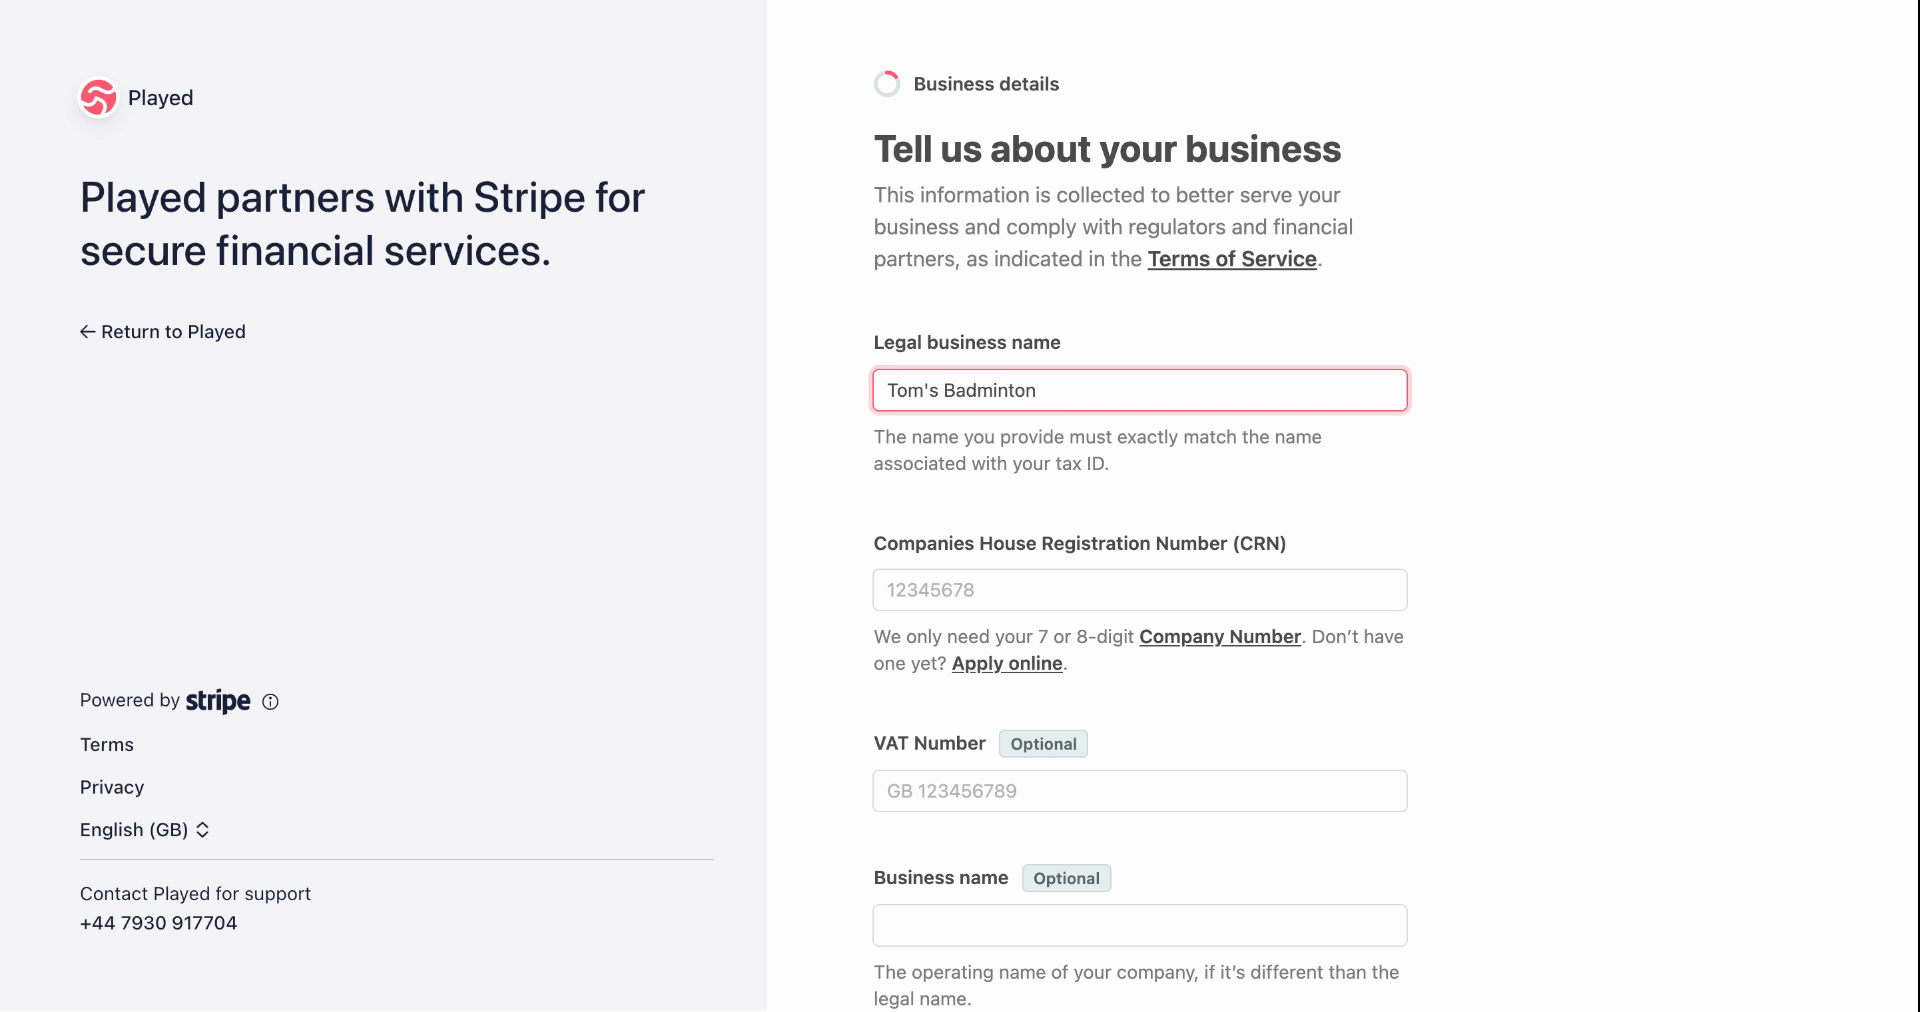
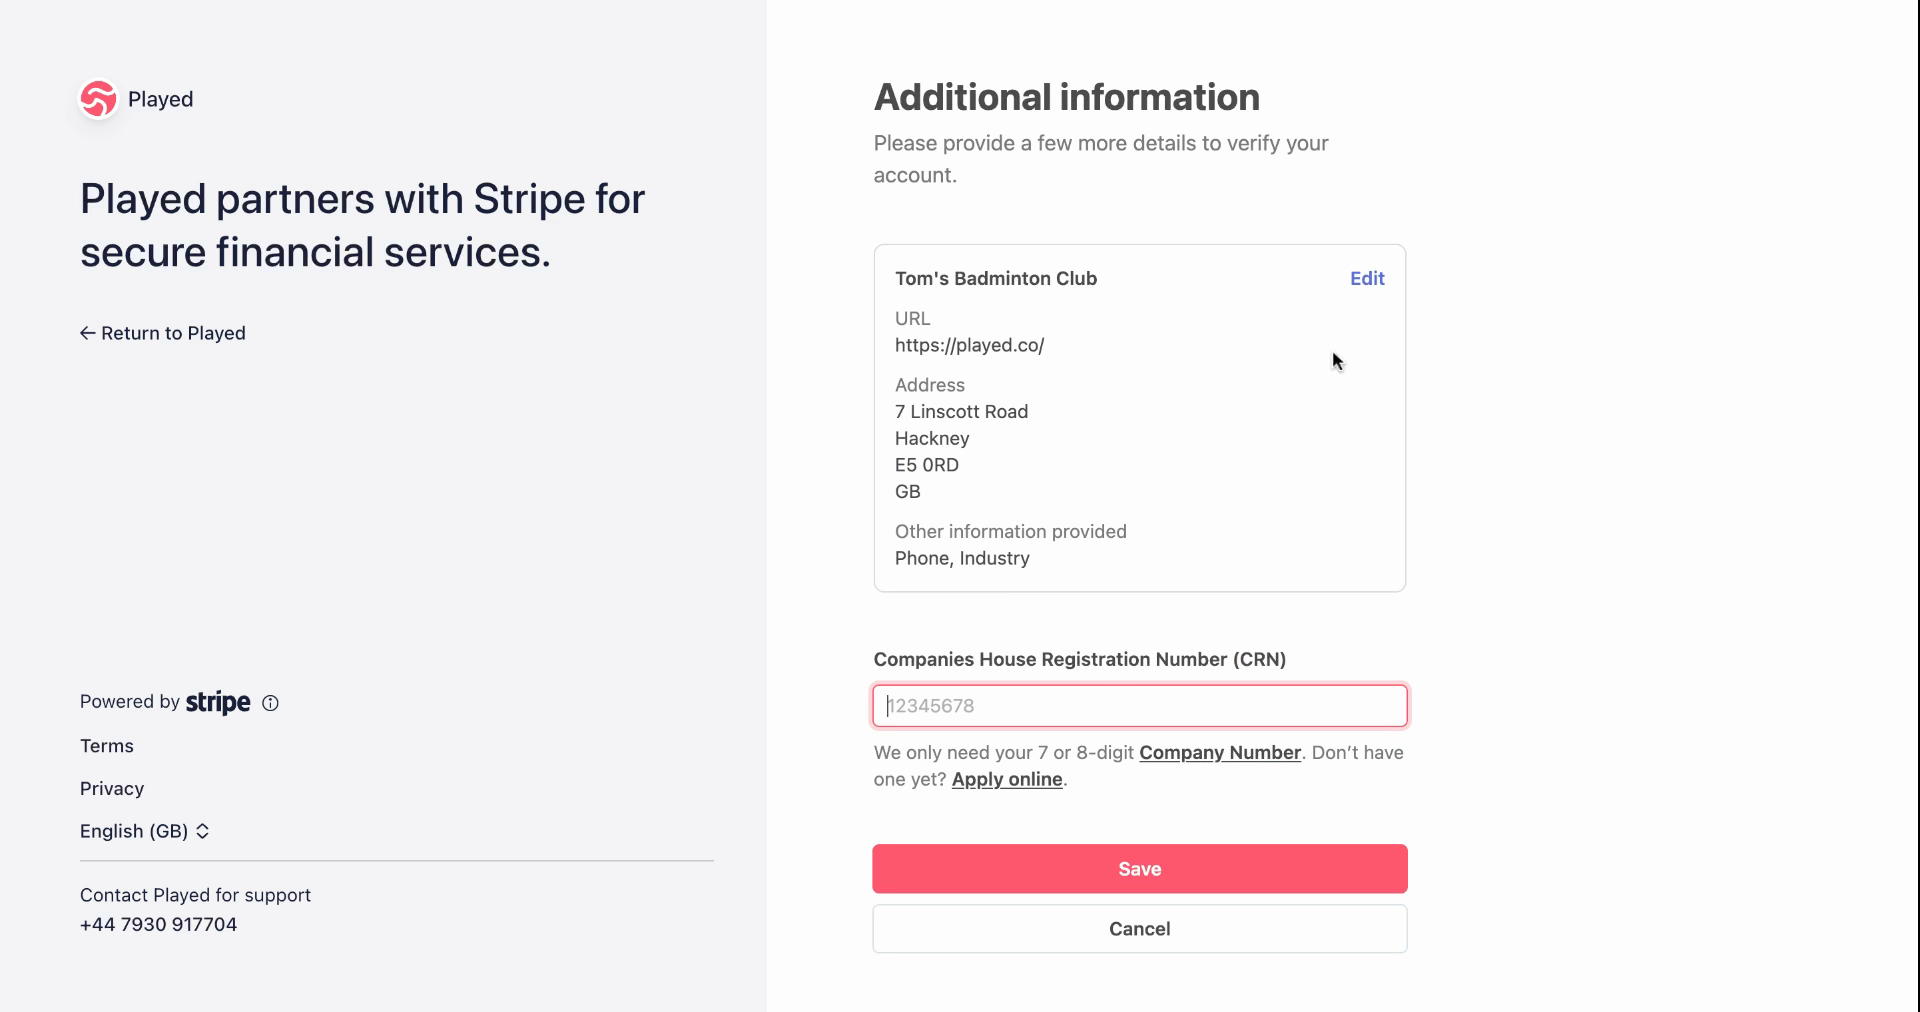
Step 9: Enter your club's legal name. If you don't have a registration number, please use 7 zero's (0000000)
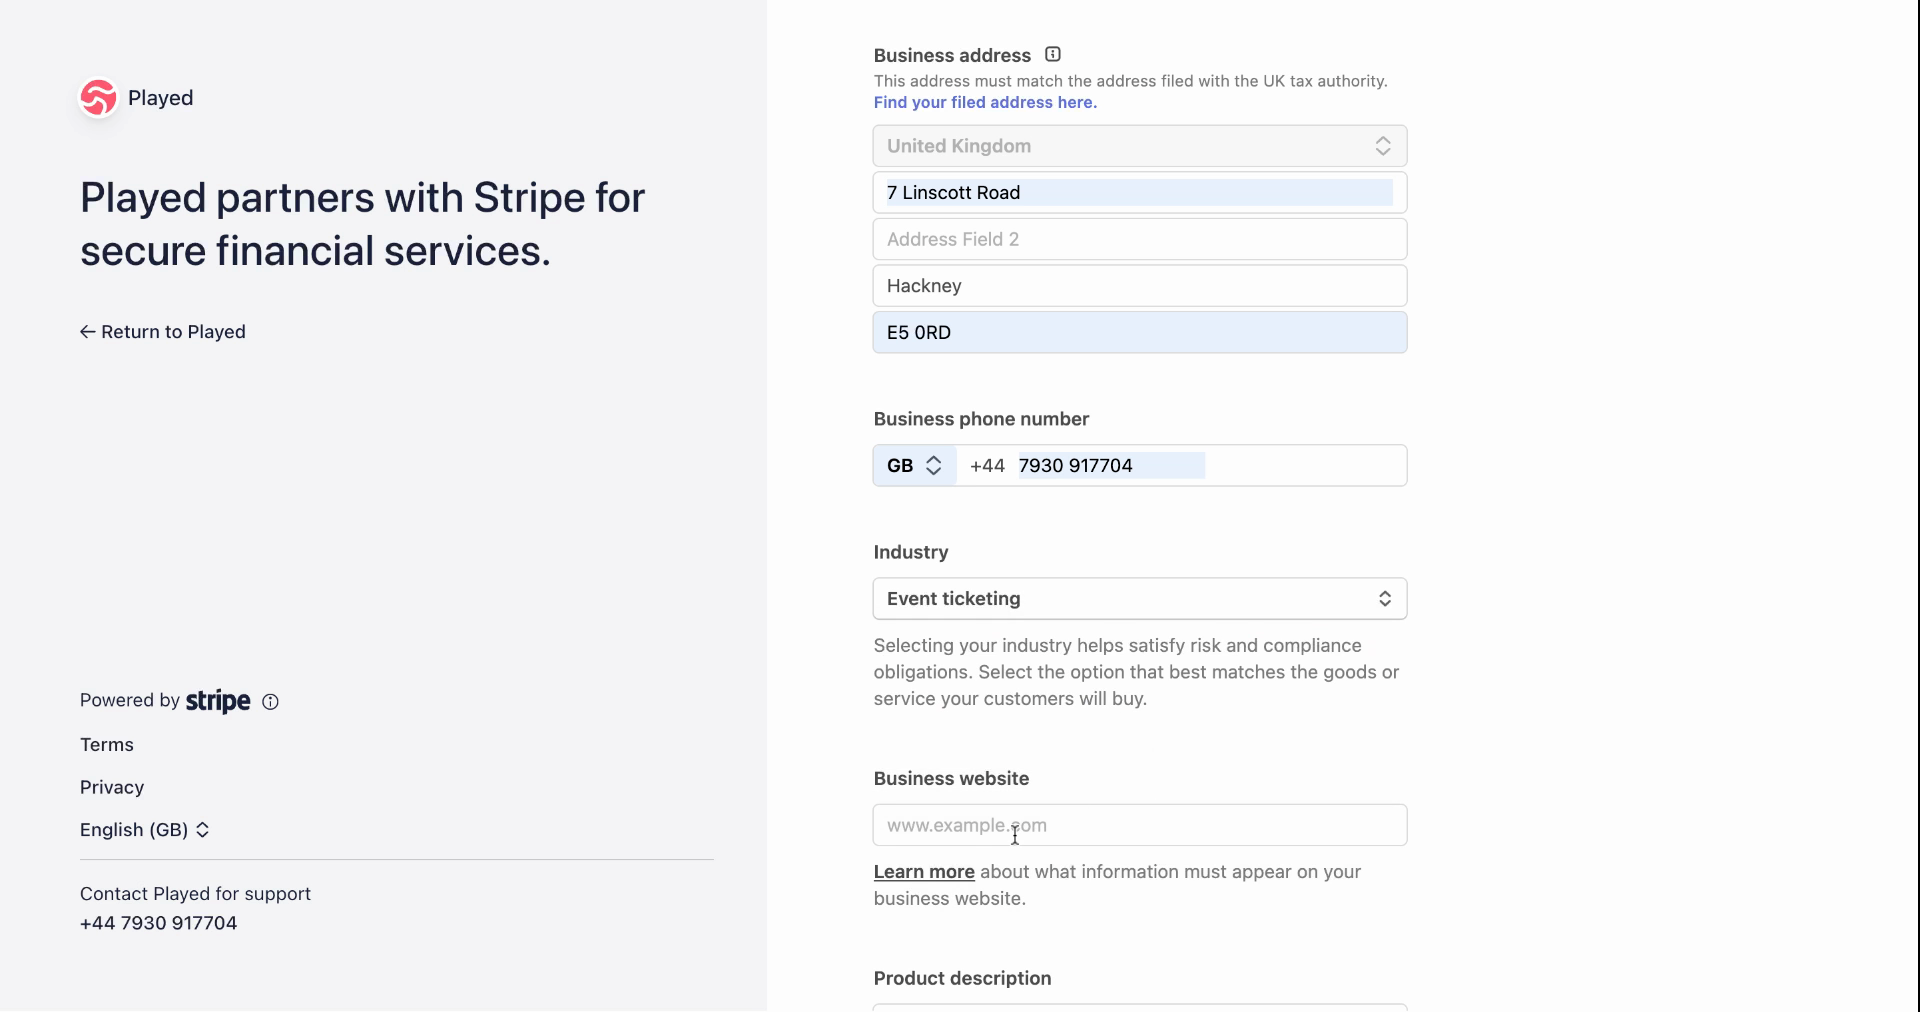
Step 10: For industry, we recommend choosing event ticketing as the best option. Then, select your business website or social media. If you do not have any of these, please use https://played.co/
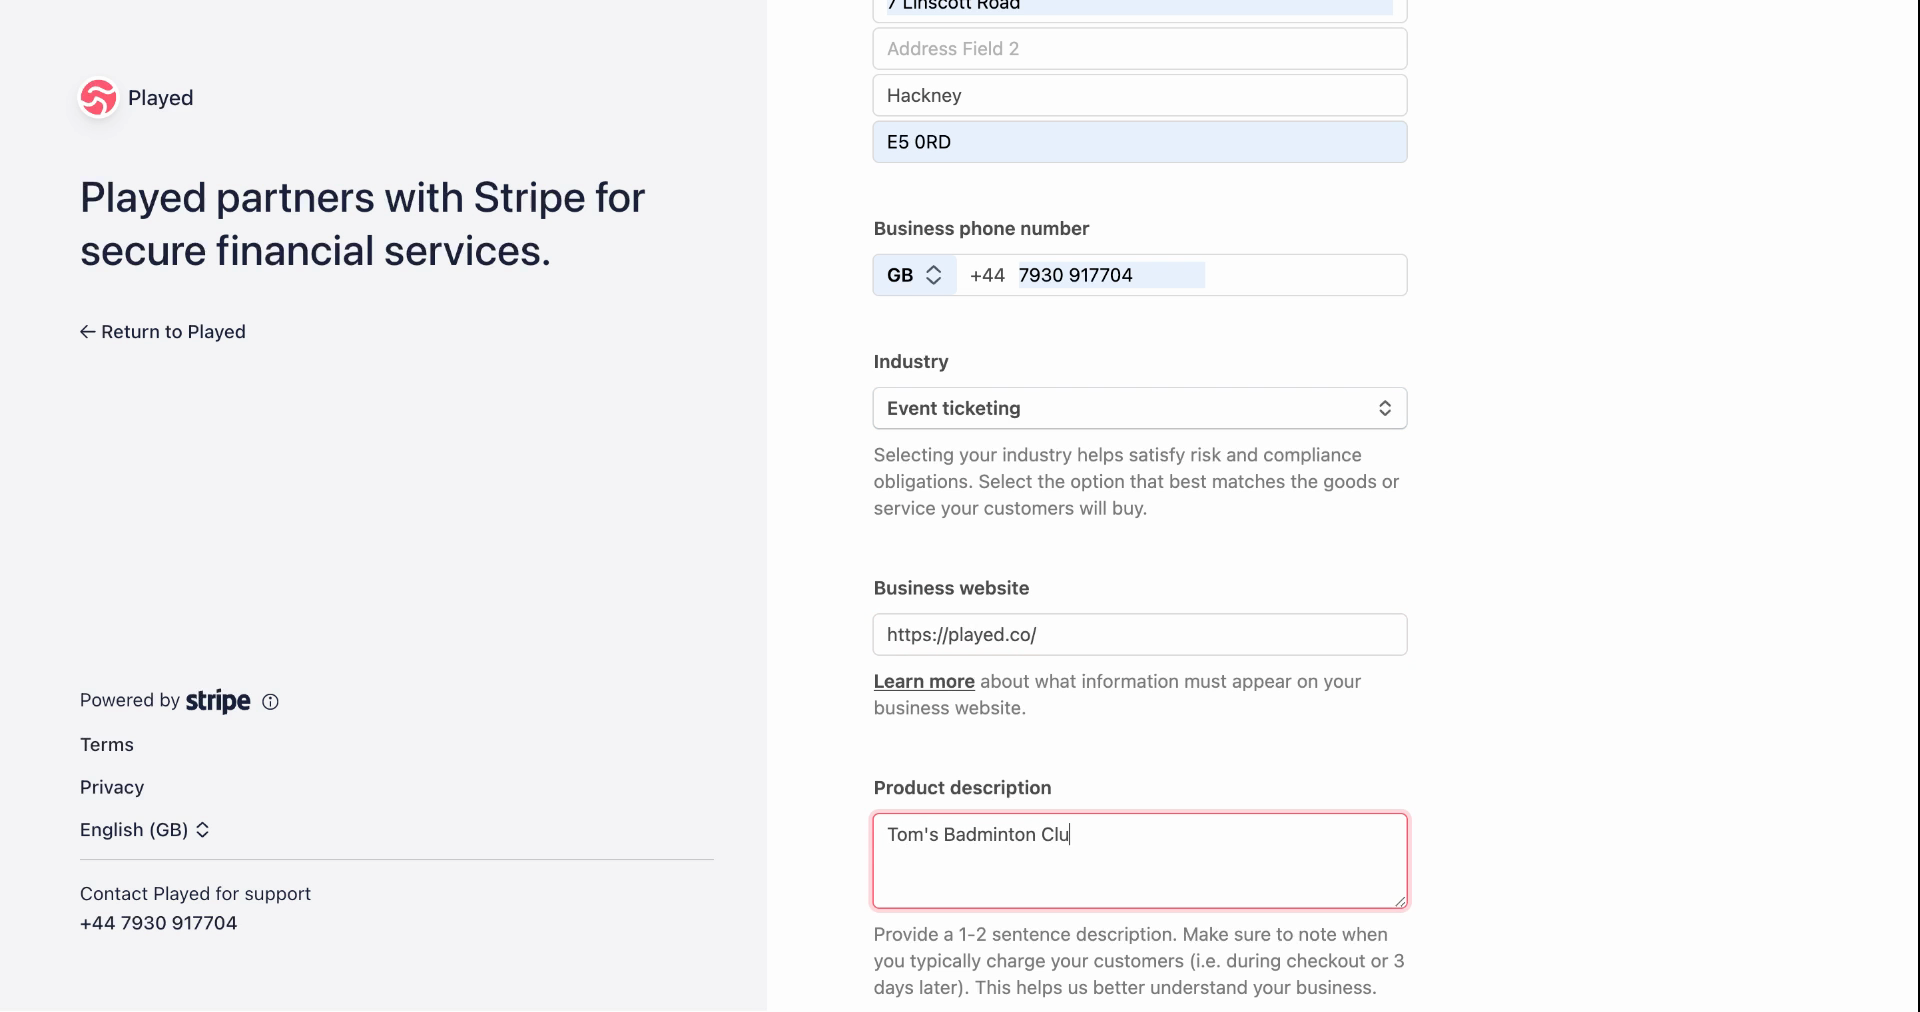
Step 11: Write a short description of your club's activities.
Step 12: For the business representative, select the secretary, treasurer, or the person managing payments.
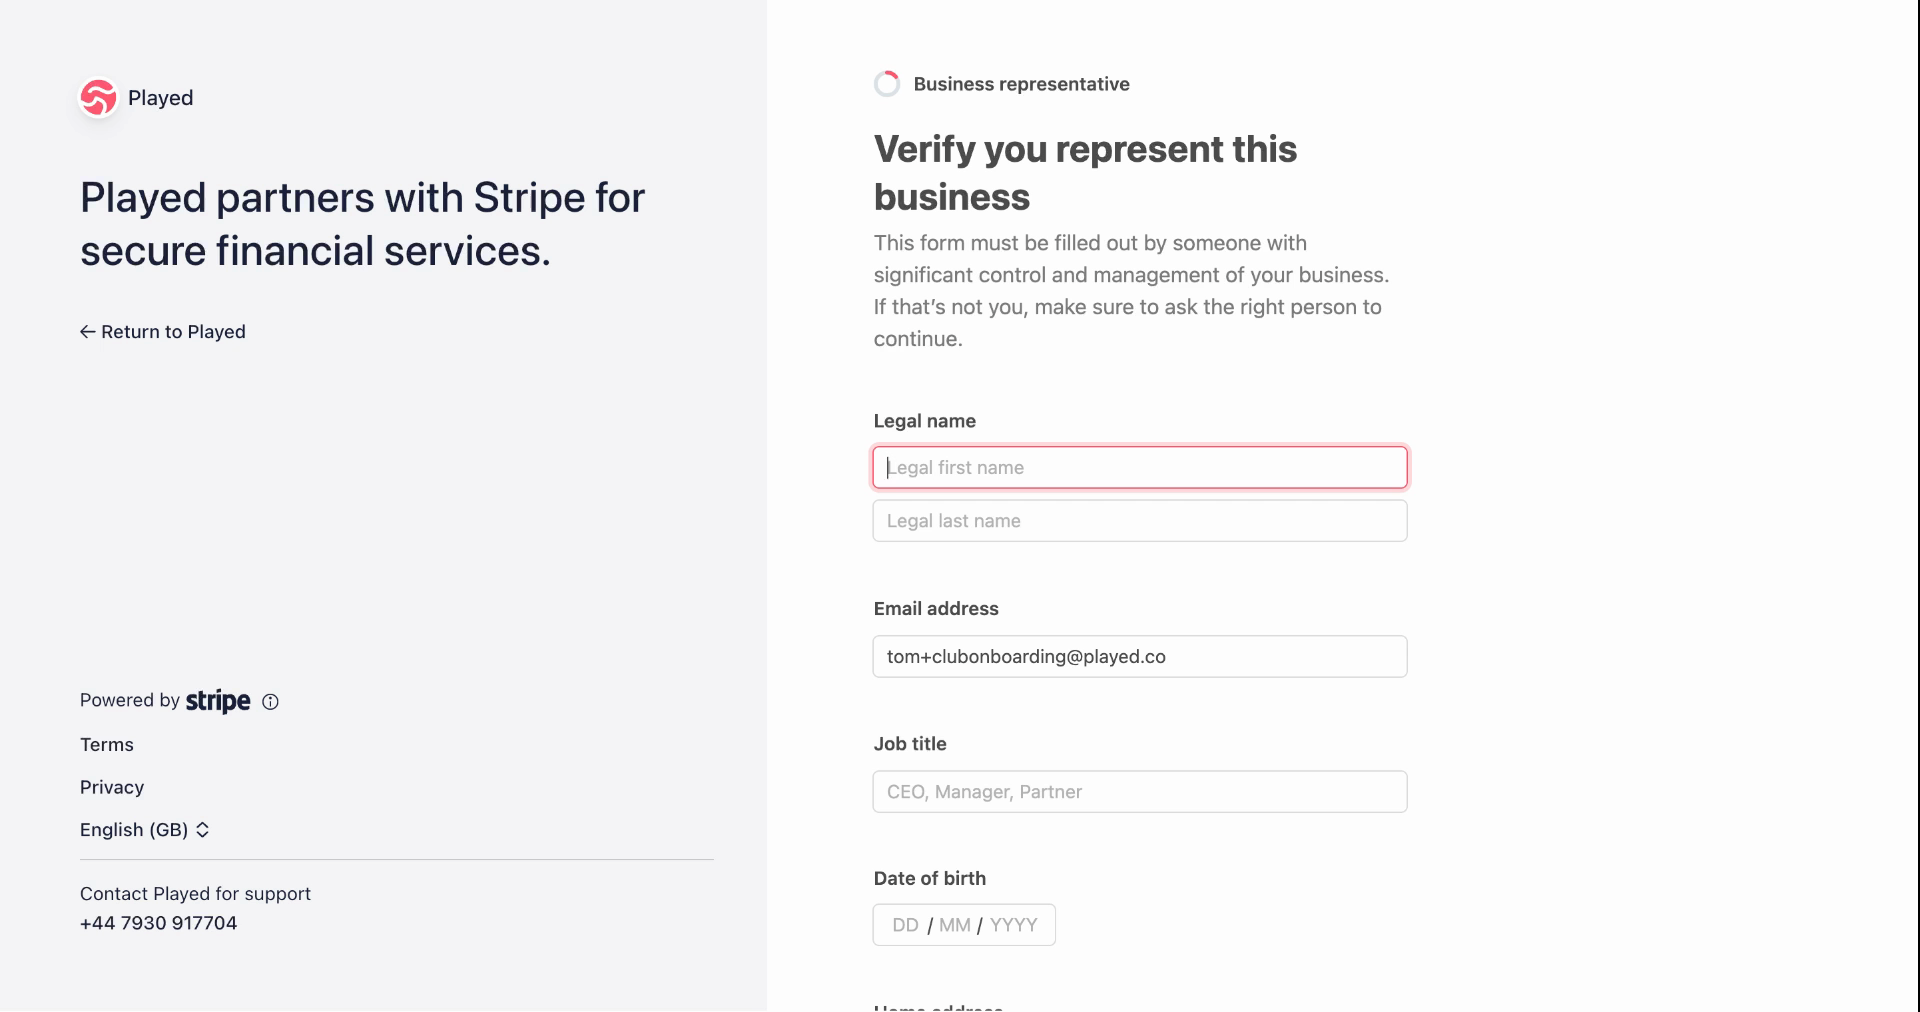
Step 13: Enter the name, date of birth, home address, and phone number.

Step 14: If your club doesn't have owners or directors, select no owners and no directors. If it does, provide their details.
Step 15: Enter the correct bank details for payment processing.
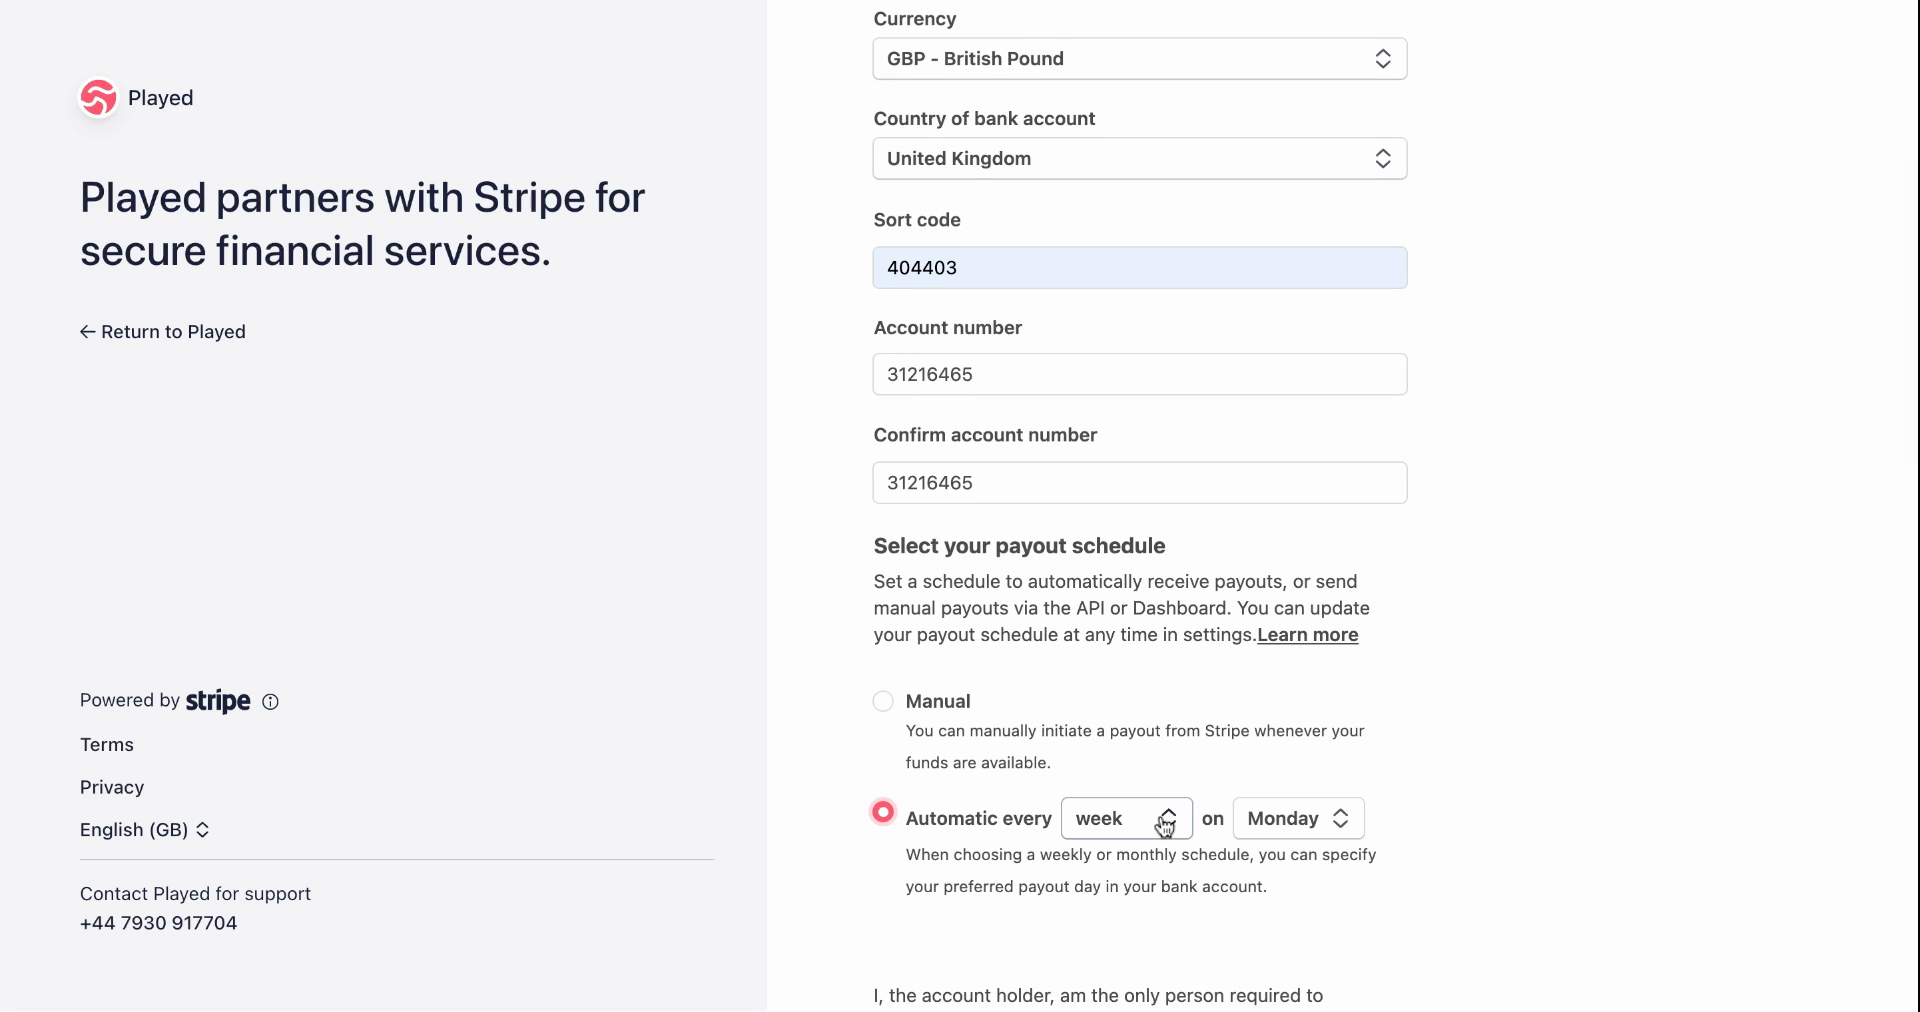
Step 16: We recommend setting up an automated payment schedule: daily, weekly, or monthly.
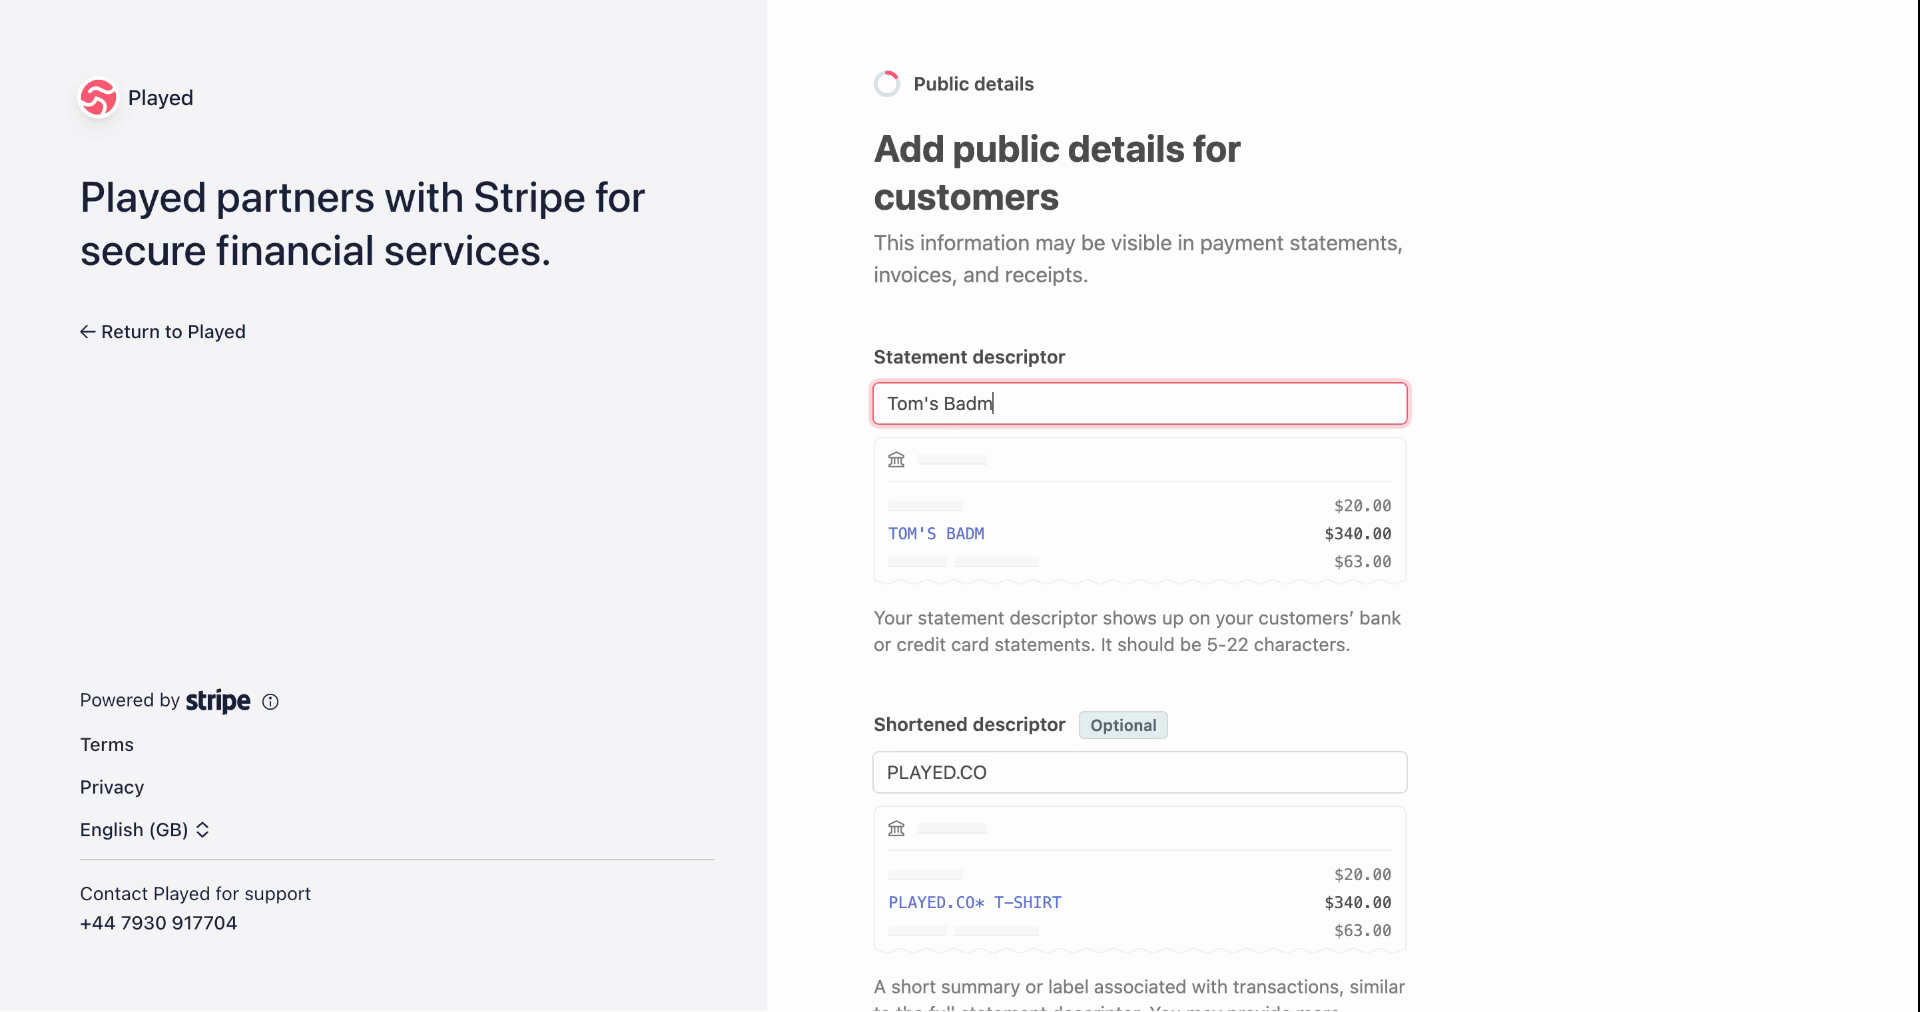
Step 17: Add the information you'd like to show on customer's bank statements when they make a booking. If you have a customer support number, include it.
Step 18: If you're not VAT registered, select not right now. Double-check all the information.
Step 19: If asked for extra details, such as company registration number, then please enter 7 zeros (0000000).
Step 20: Once you have verified this information, please click 'Save' and you will be redirected to the Played platform.
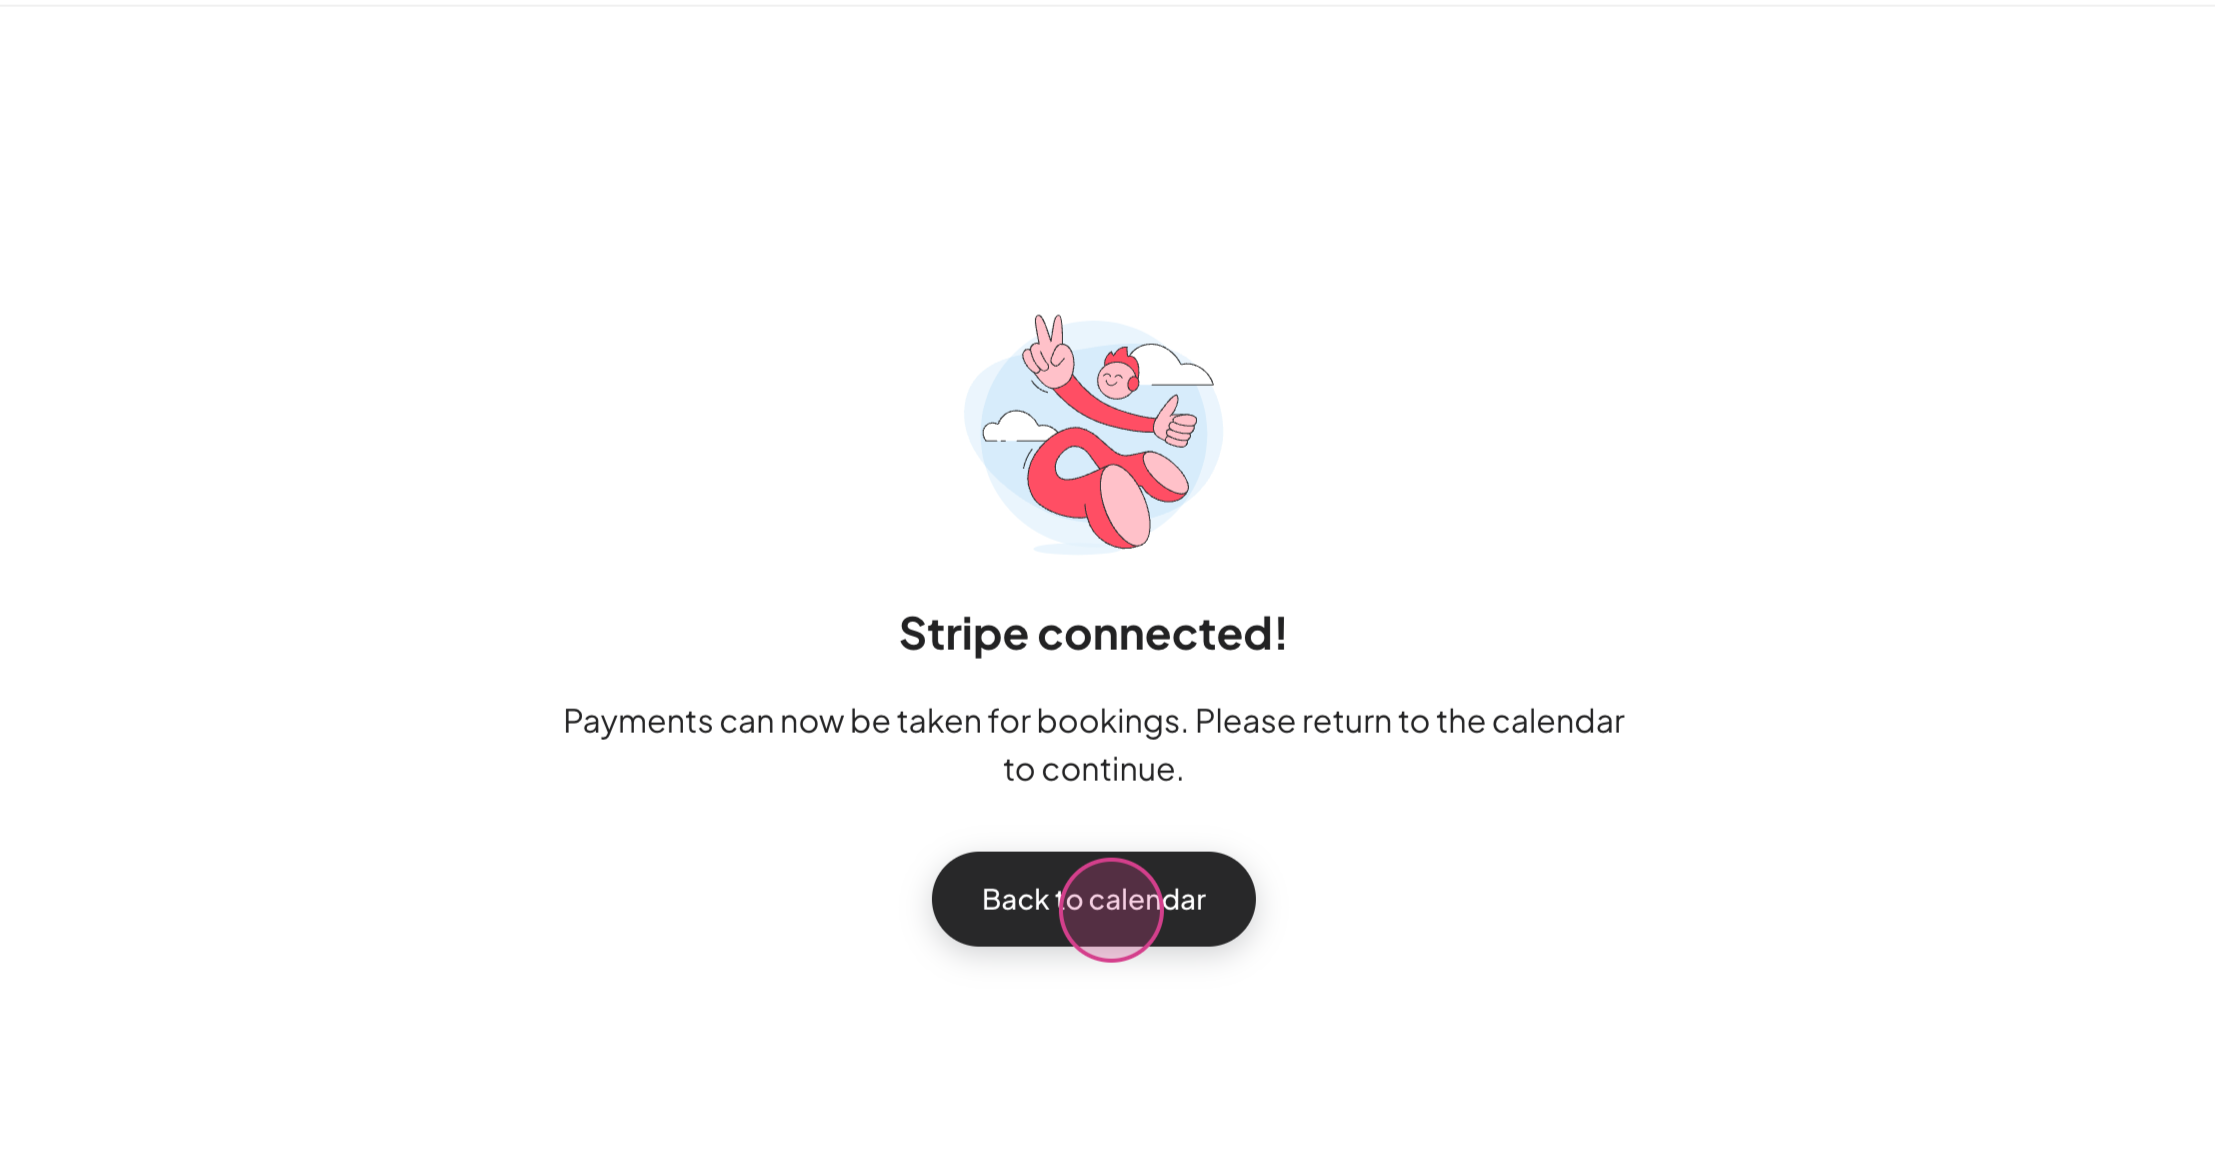
Once you've completed these steps, refresh your screen to remove the connect your bank notification. If you have questions, contact support through the support chat.