Auth.js
Last updated March 5, 2025
Send Auth.js magic link emails with Loops.
Use Loops to send your Auth.js Magic Link emails.
You must configure a [database adaptor](https://authjs.dev/getting-started/database) to use Magic Link authentication in Auth.js.
There are two big benefits to using Loops for sending your Auth.js emails:
You can use [Loops' design editor](/creating-emails/editor) to create (and then easily edit) beautiful transactional emails instead of having to code them with HTML. You get full visibility on which emails are being sent, when, and to whom in your Loops account. Auth.js doesn't offer this out of the box.
Create a transactional email
In Loops, create a new transactional email, which will be sent to your users when they attempt to log in.
Here is where you define your email's subject and sending details like From address and Reply to address. (Click the > button to reveal all the sending options.)
Then you can creat your email in the editor. We recommend creating a stylish but basic email for magic links, to help with deliverability. Use the style panel to customize the design.
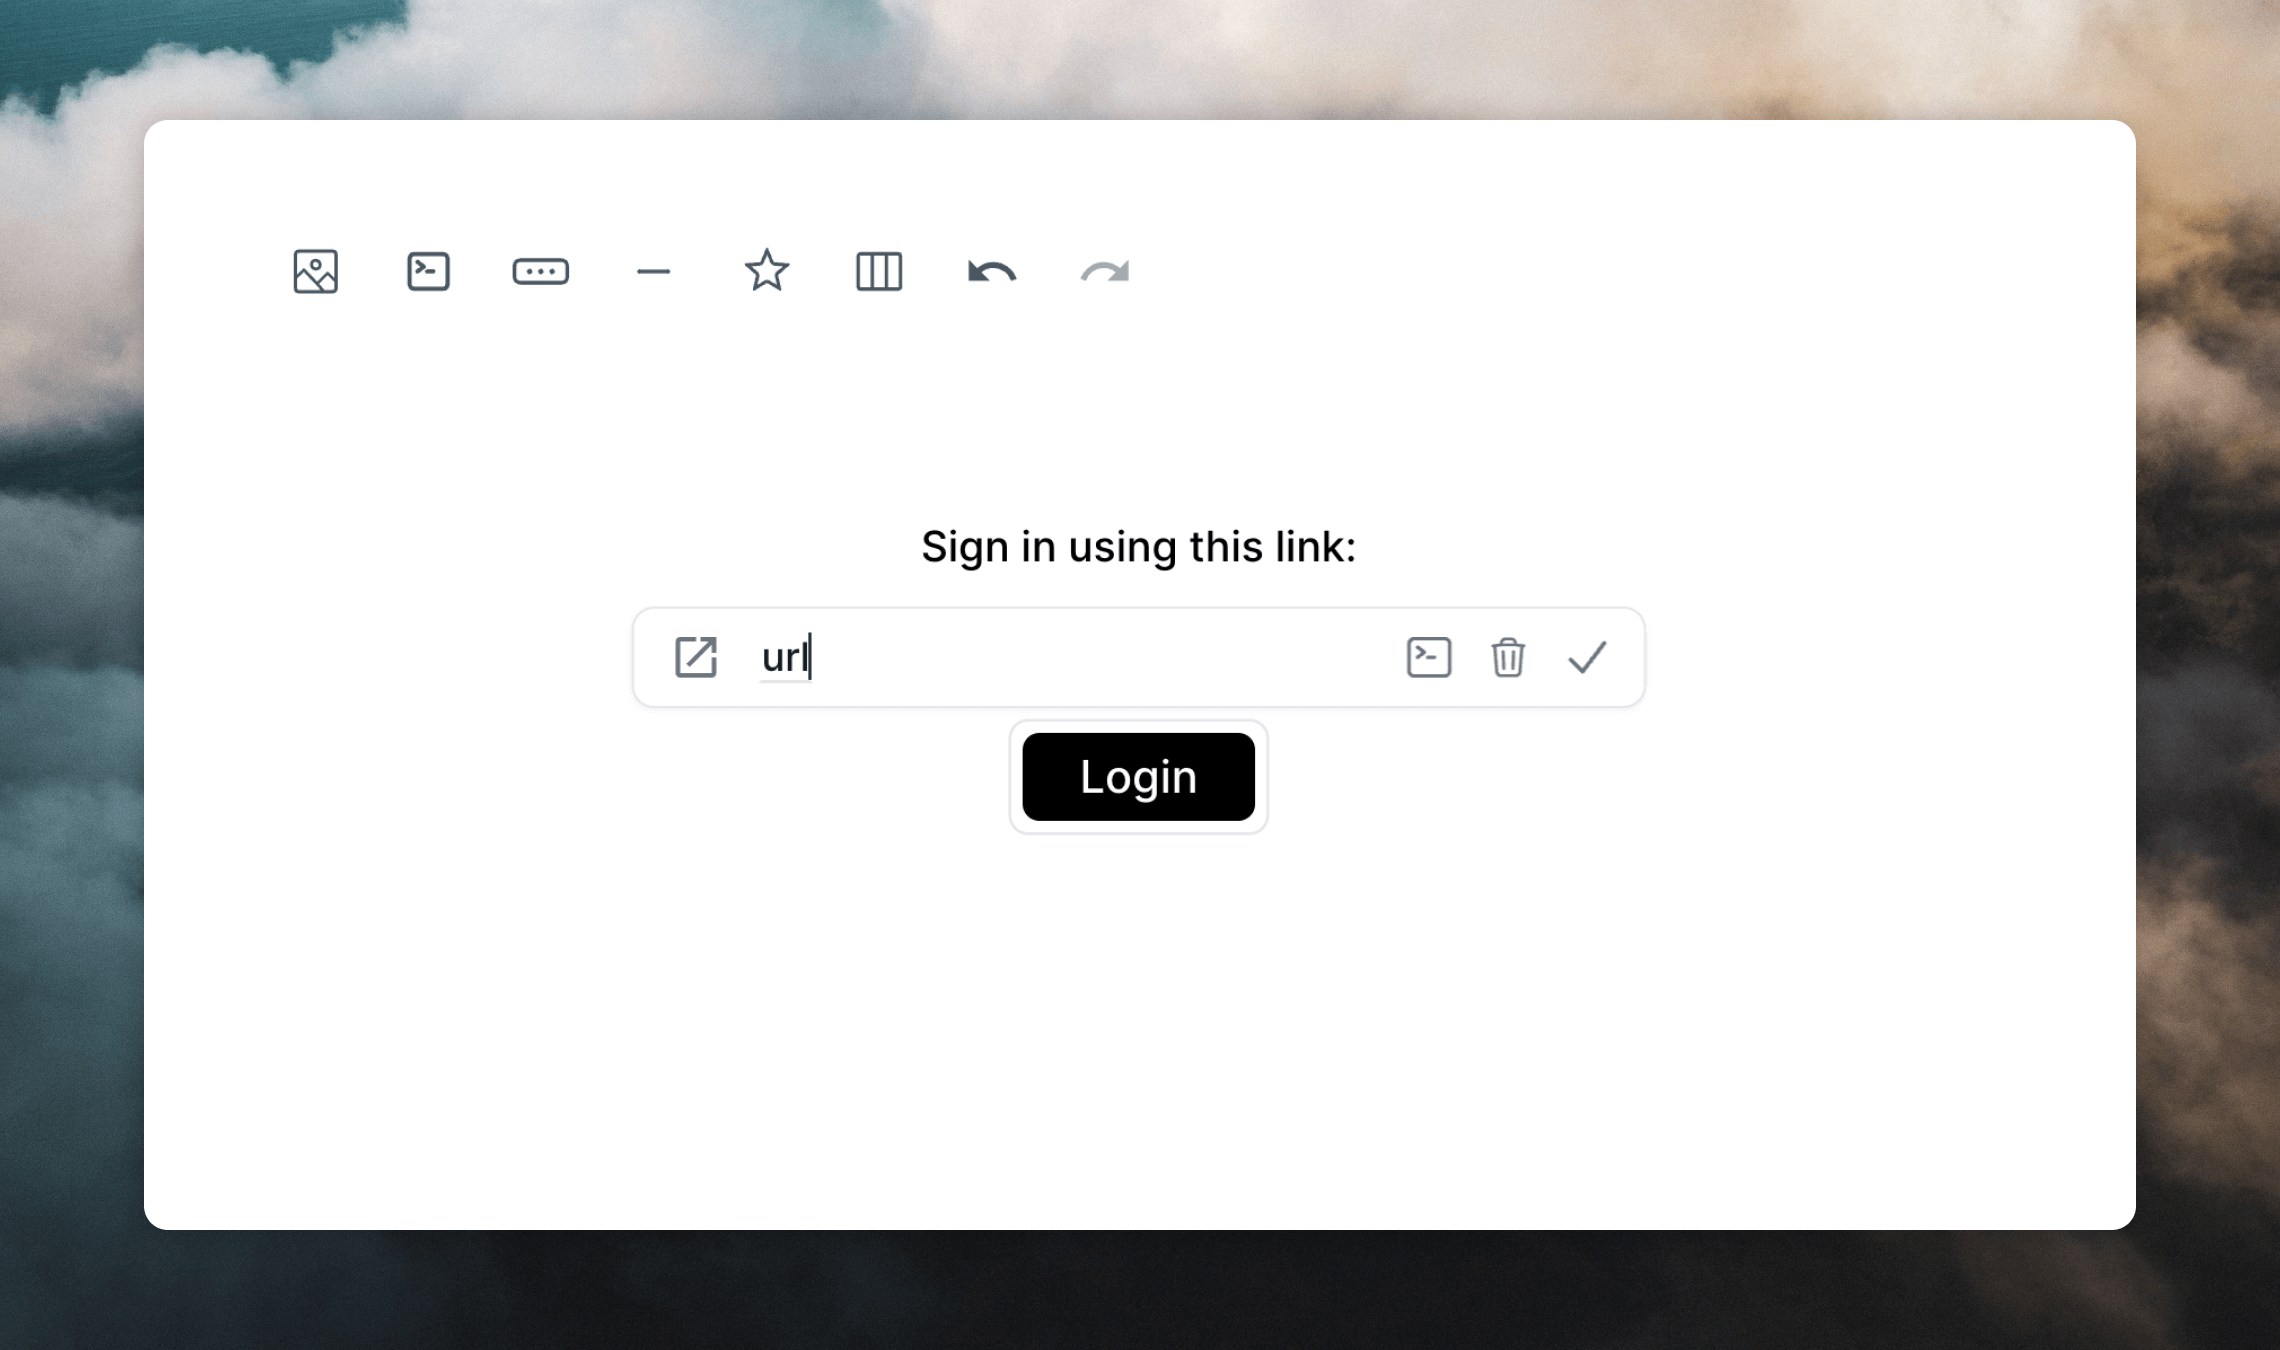
To add the Auth.js magic link in your email, add a data variable named url. When the email is sent, each user's magic link will be inserted whereever you add the variable.
You can add data variables as URLs to text, buttons and images.
Make sure that your variable is named `url` in the email.
When you're done make sure to Save and Publish your email. Unpublished emails will not be sent.
Set up Loops in your Auth.js Project
To use the Loops provider in Auth.js, you'll need to add two environment variables to your project.
The first is an API key. You can generate or copy one from [Settings -> API](https://app.loops.so/settings?page=api).
The second is the ID of your transactional email. Go to the email in Loops and click on to the **Publish** page. Here you will find the **Transactional ID**.

Add both values to your environment, for example in an `.env` file:
```
AUTH_LOOPS_API_KEY=<API_KEY>
AUTH_LOOPS_TRANSACTIONAL_ID=<TRANSACTIONAL_ID>
```
The final step is to configure your project to send emails with the built-in Loops provider.
```javascript auth.js
import NextAuth from "next-auth"
import Loops from "next-auth/providers/loops"

export const { handlers, auth, signIn, signOut } = NextAuth({
  adapter: ..., // database adapter of your choosing
  providers: [
    Loops({
      apiKey: process.env.AUTH_LOOPS_API_KEY,
      transactionalId: process.env.AUTH_LOOPS_TRANSACTIONAL_ID,
    }),
  ],
})
```
That's it!
Don't forget, your email details (subject, from address etc) and content can all be managed from Loops.
You also get access to transactional email logs giving you an eye on your sending history.